
Blog
Kaleidoscopic Image Making
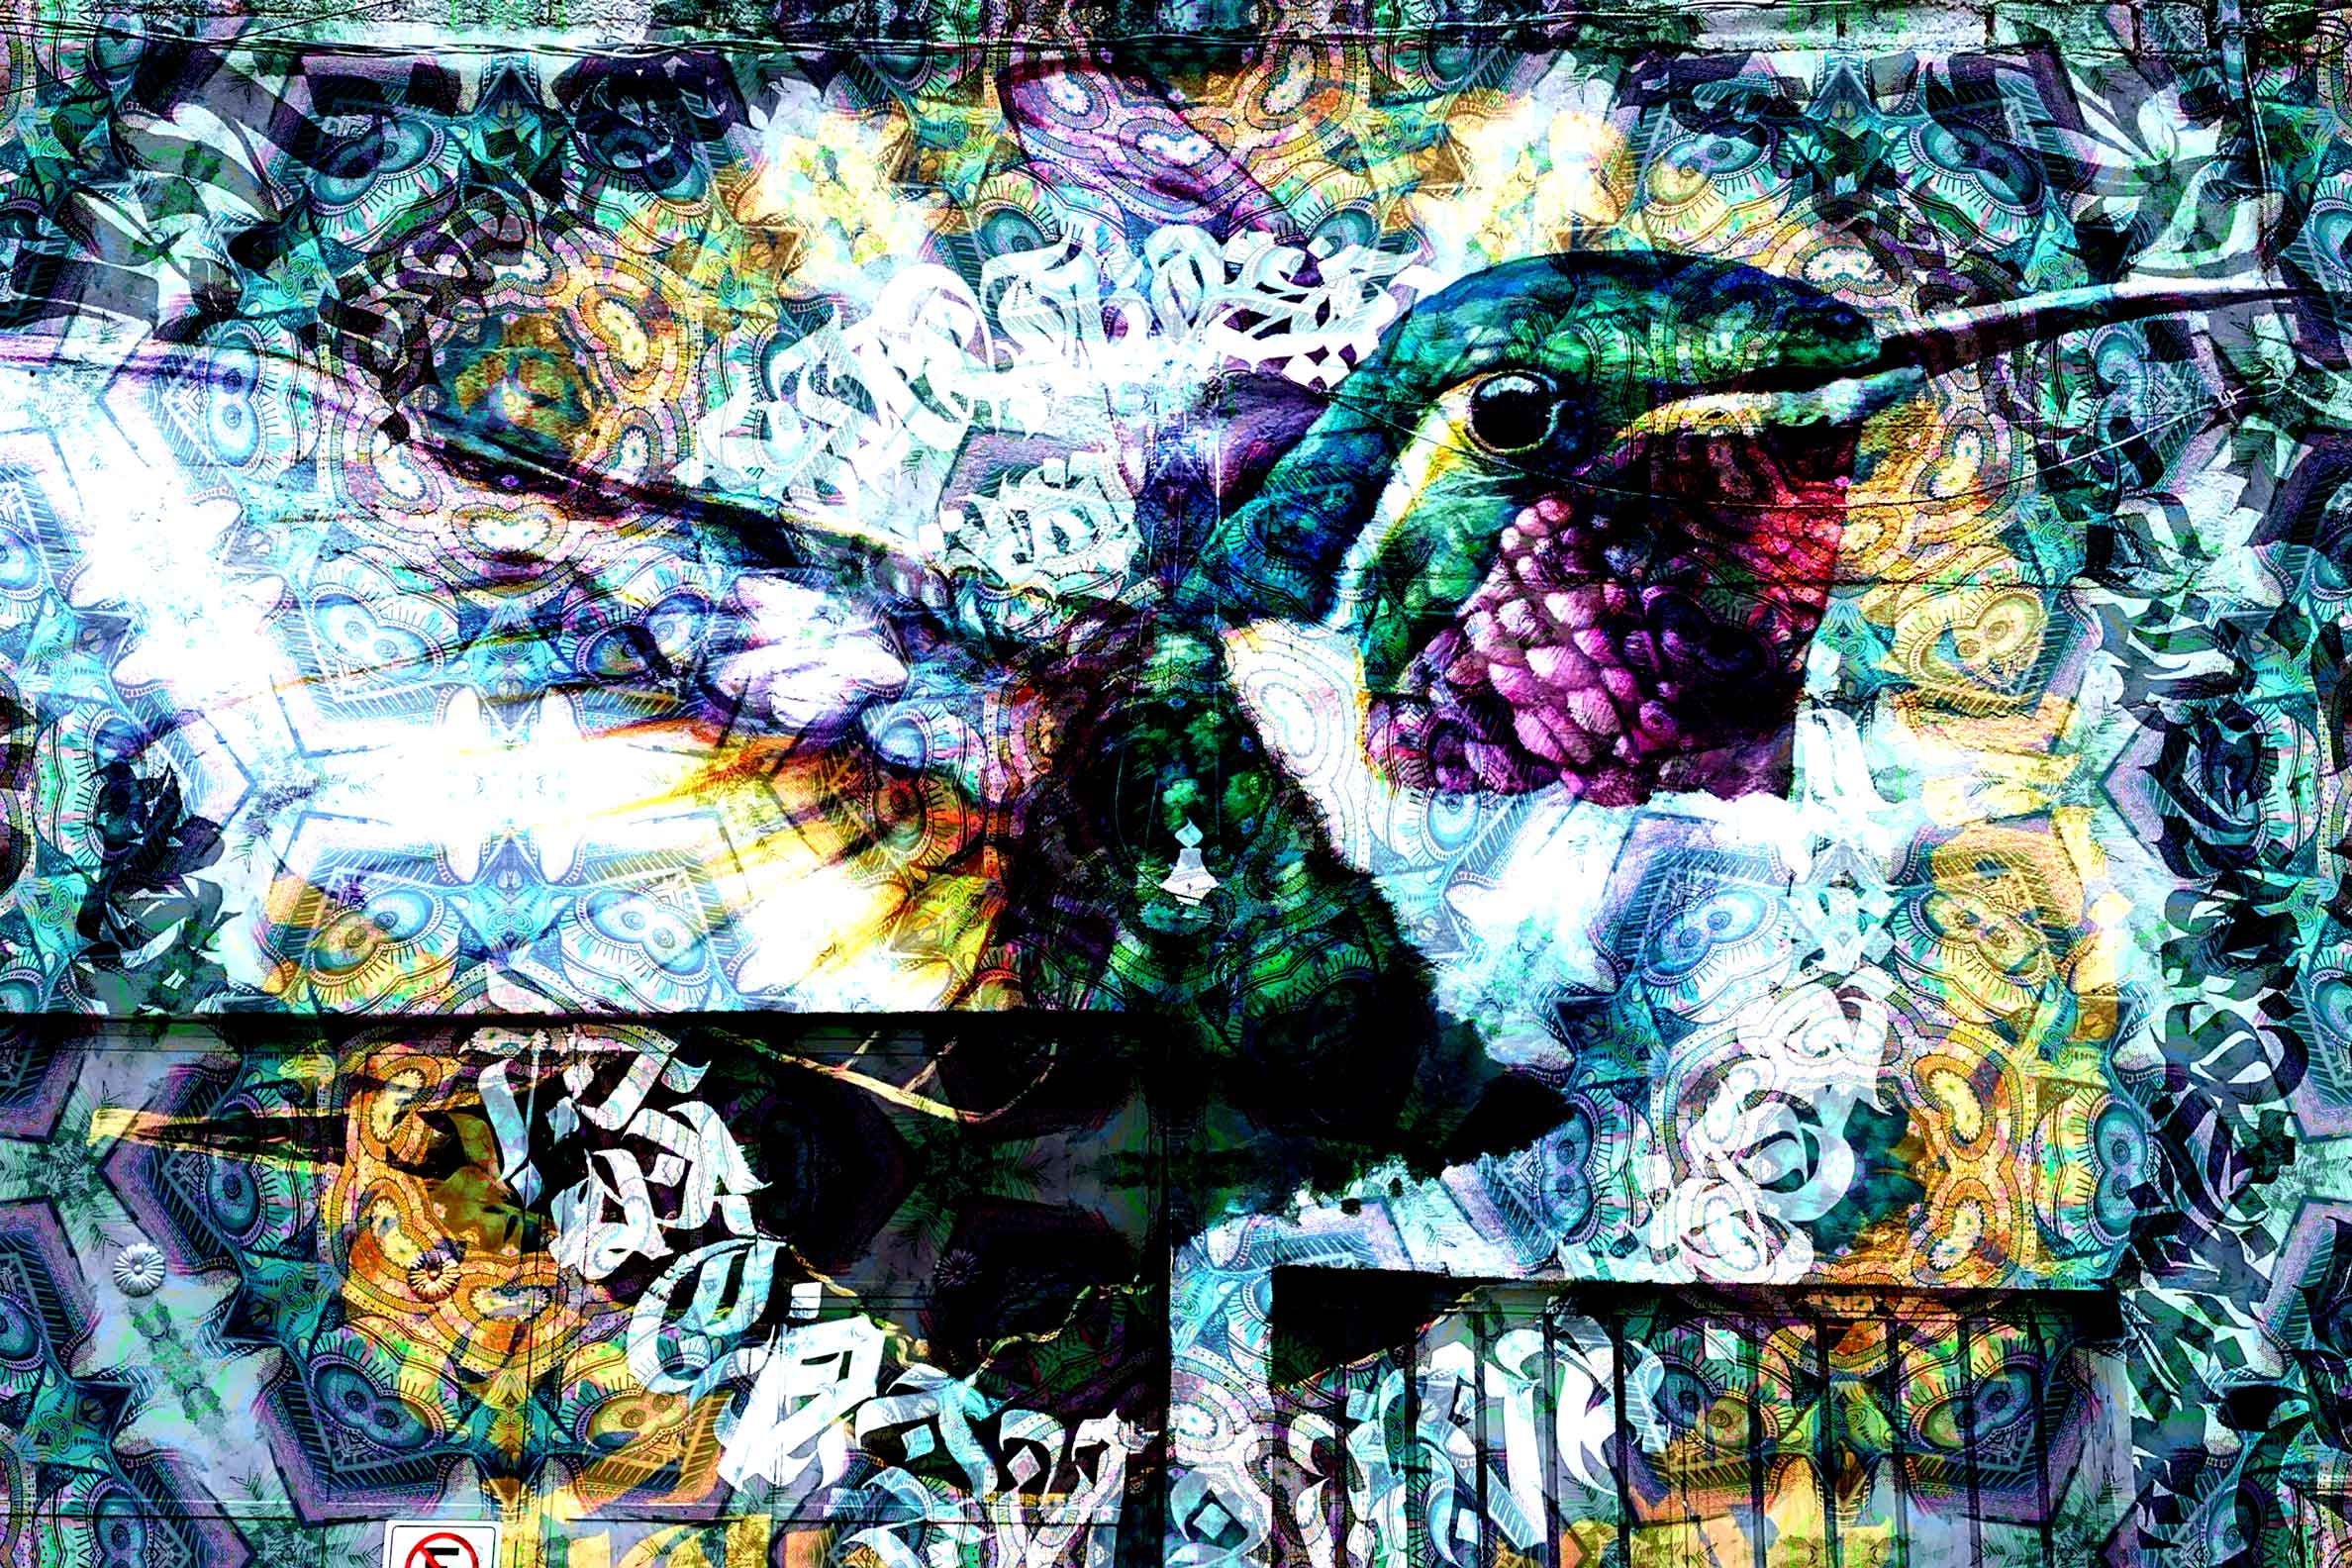
Although I’ve been making kaleidoscopic images for many years now, it was only earlier this year that I started working with layers of kaleidoscopic images in Photoshop using the blending mode. That techniques gives you so many options to play with. There can be almost too many options so discernment is key to working quickly and efficiently. The last time I created a kaleidoscopic image was about 6 months ago. Today felt like a good day to get back into kaleidoscopic image making. It was only once I finished my piece did I realise that today was exactly two weeks since I left England for a new life starting in Oaxaca, Mexico. I’ve been doodling, usually whilst waiting for food in a cafe or restaurant, but I had not had the time, or inclination to create a digital piece.
I have thought about doing a kaleidoscopic series about Oaxaca for a while, even before getting here. I had got up early and had got stuff done so by mid afternoon I felt in the right space to work on a new kaleidoscopic piece. So my first task was to download the Scopeworks app again. This is what I used on my old computer but it now seems to no longer exist. So I then spent a while looking for a new kaleidoscopic software and managed to find one that is ok, but not great. The one I chose is KaleidoFx2. It took me a while to get the hang of it as it isn’t the most intuitive application. I started the creative process by choosing 9 photos from the hundreds that I have taken in the last 2 weeks. These are the photos that I chose.

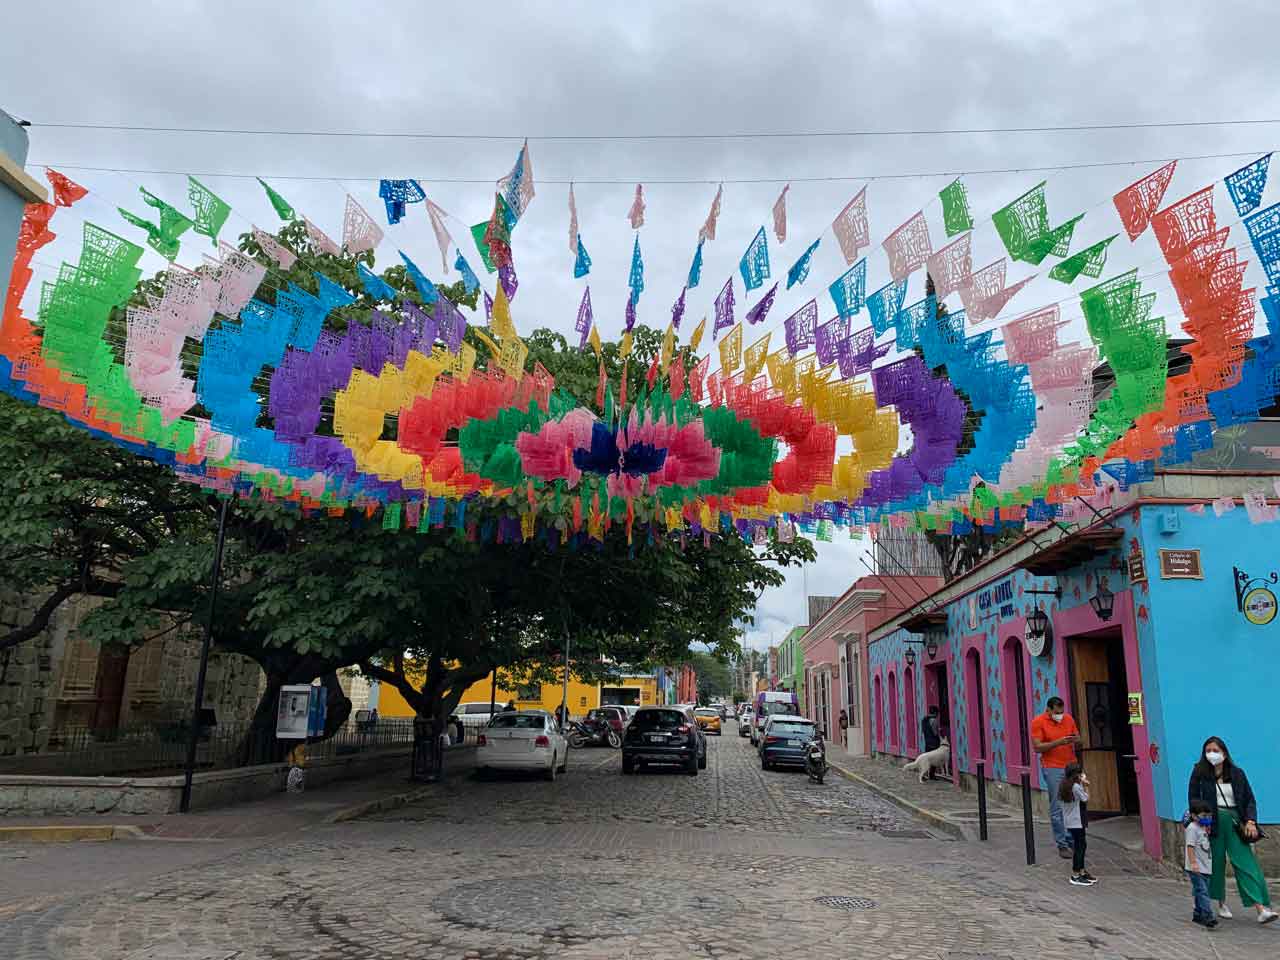

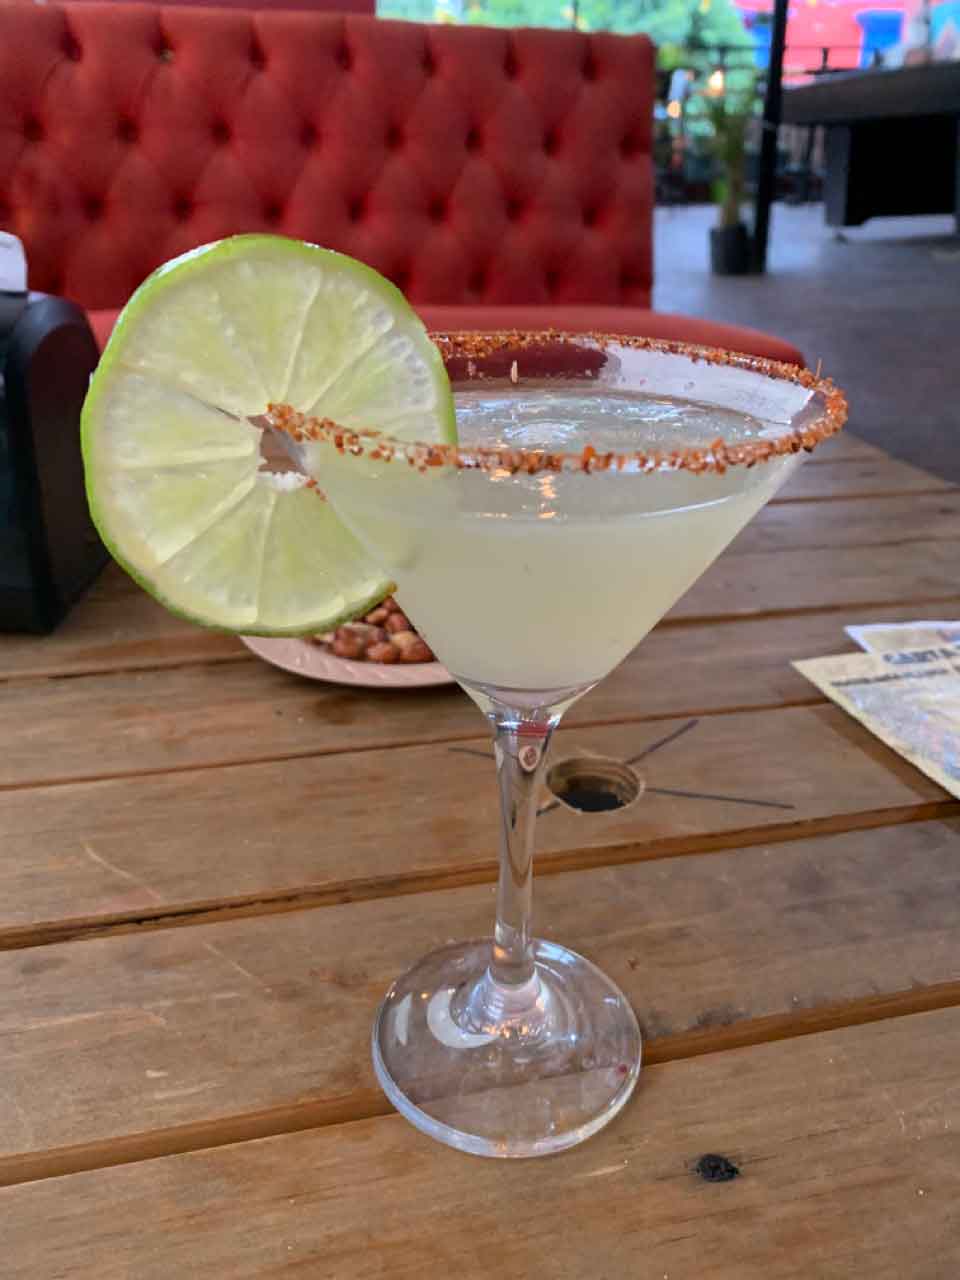
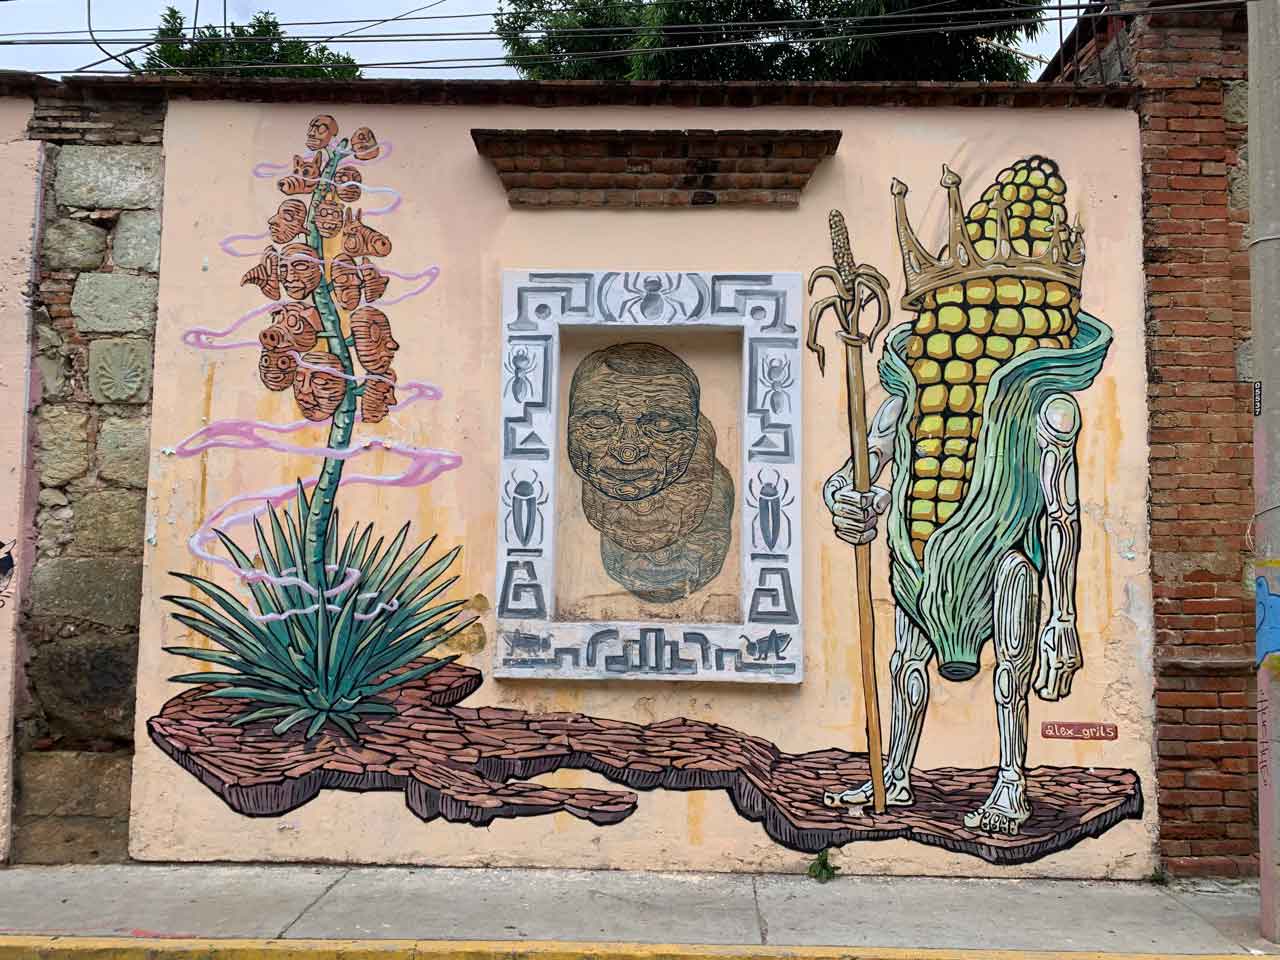
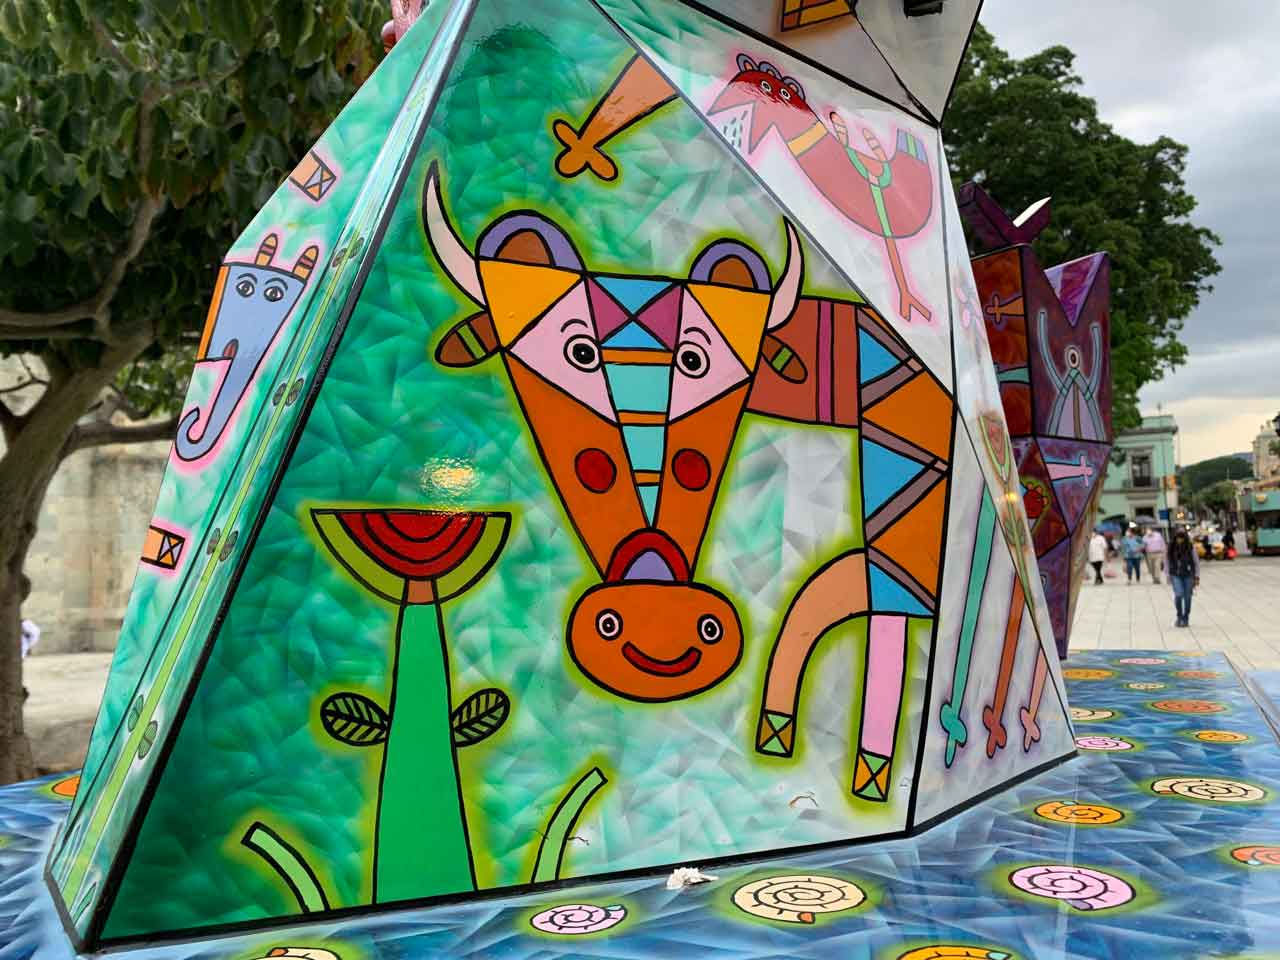

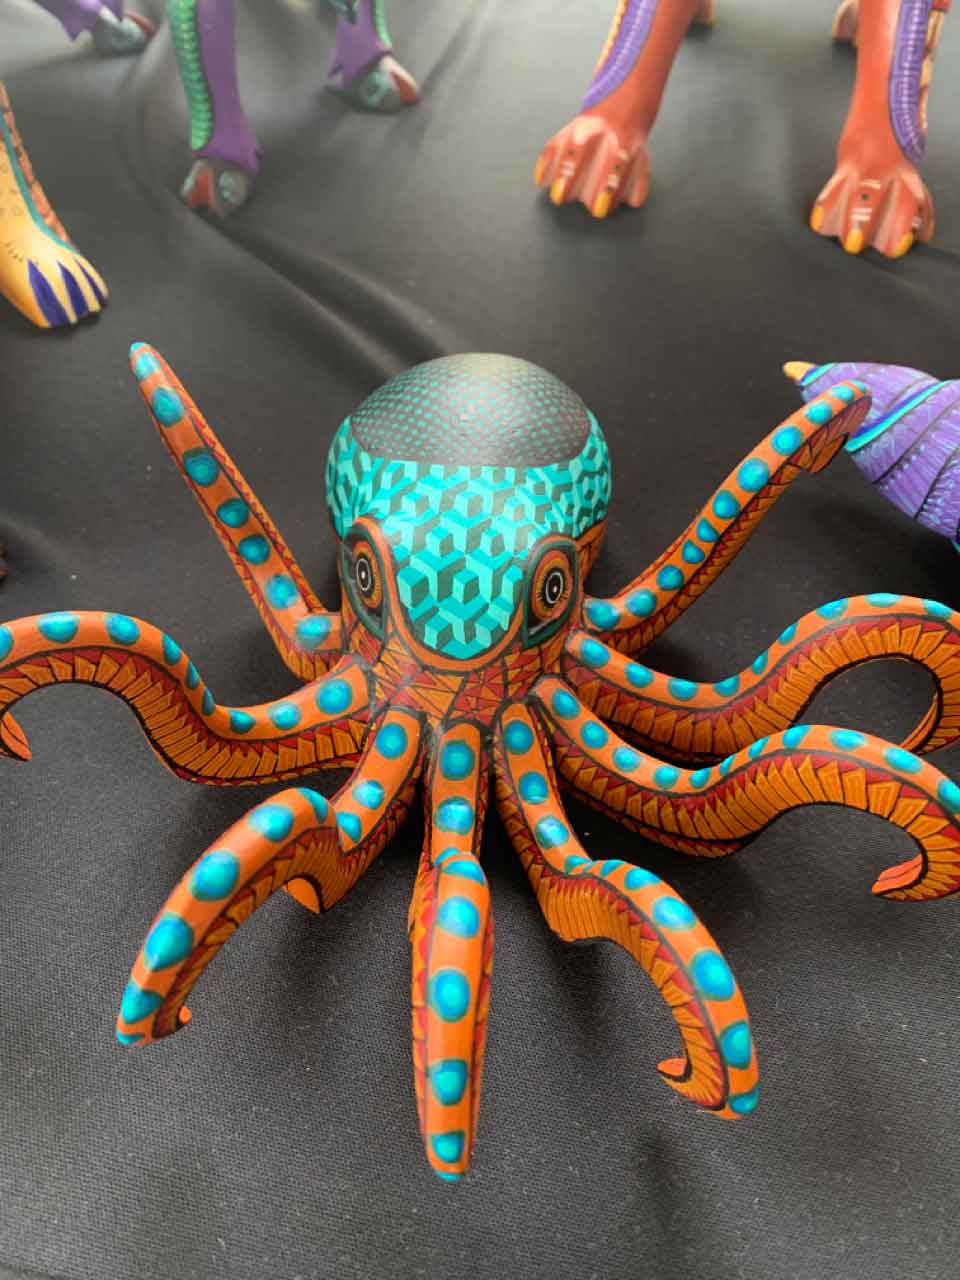

I chose 6 of these photos and put them through the KaleidoFx2 app and I got these images.
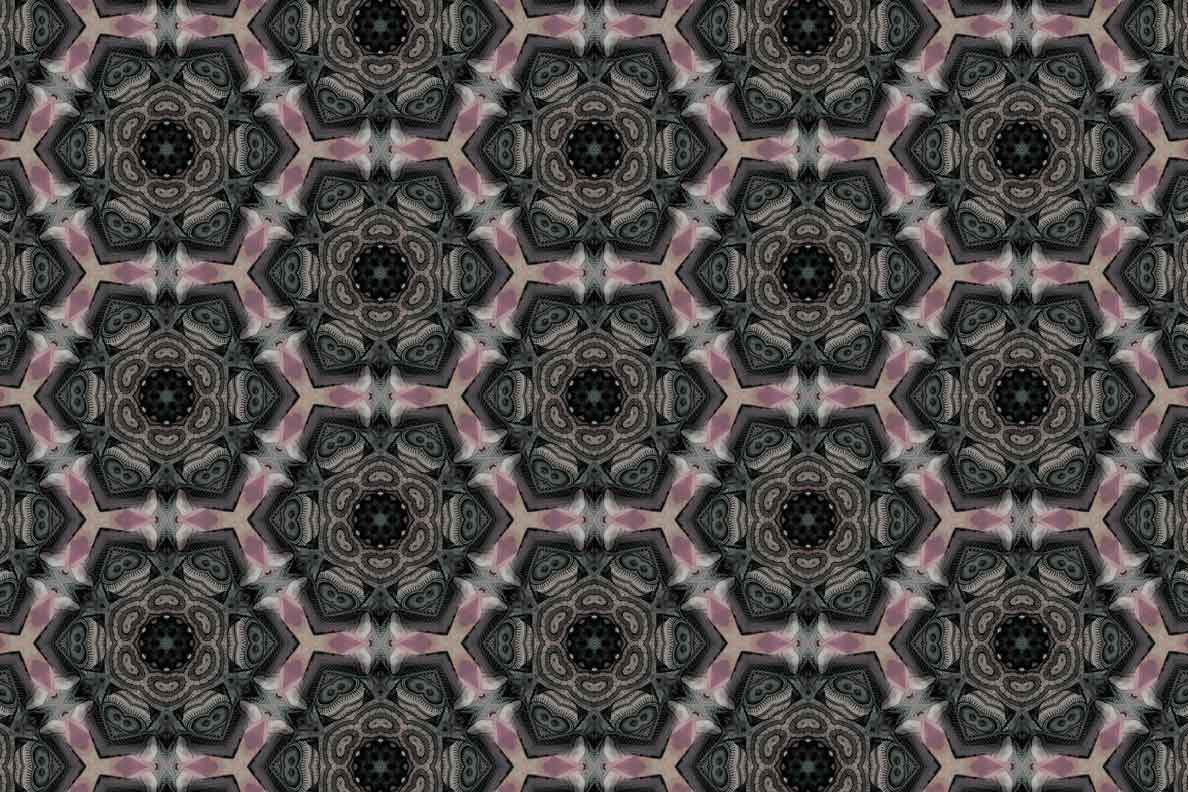
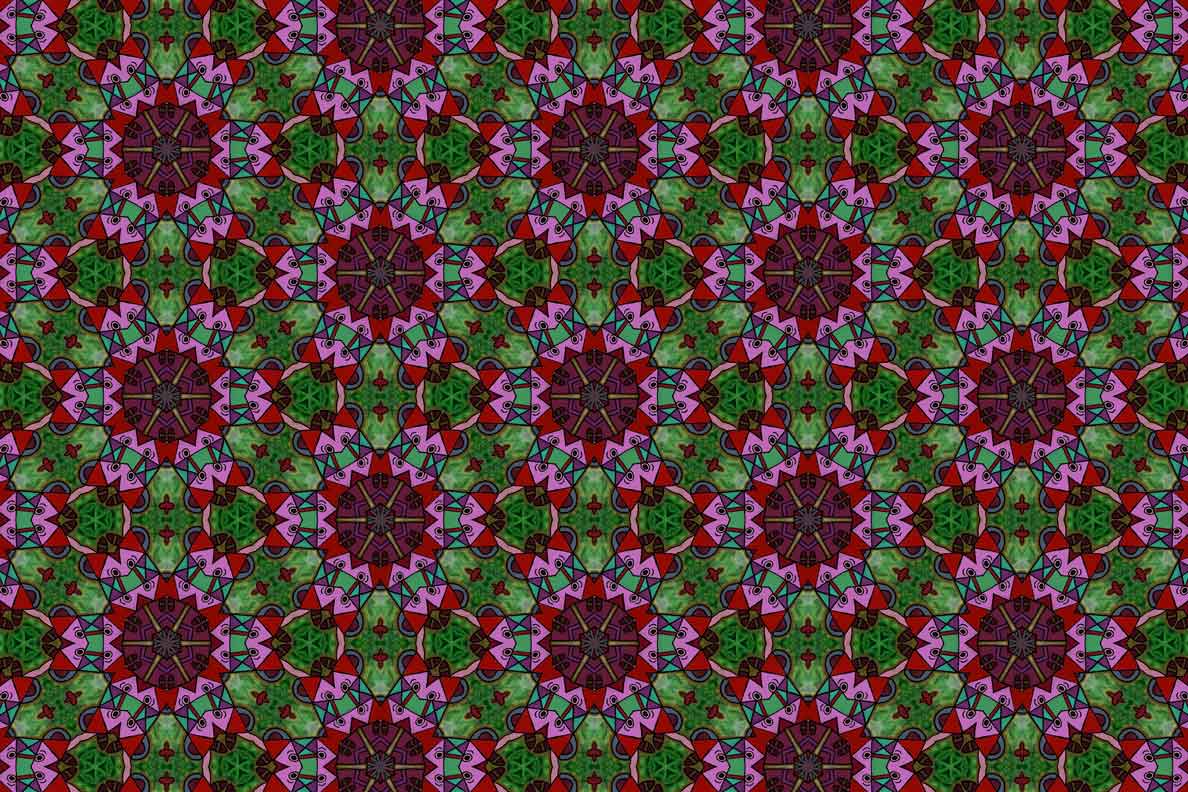
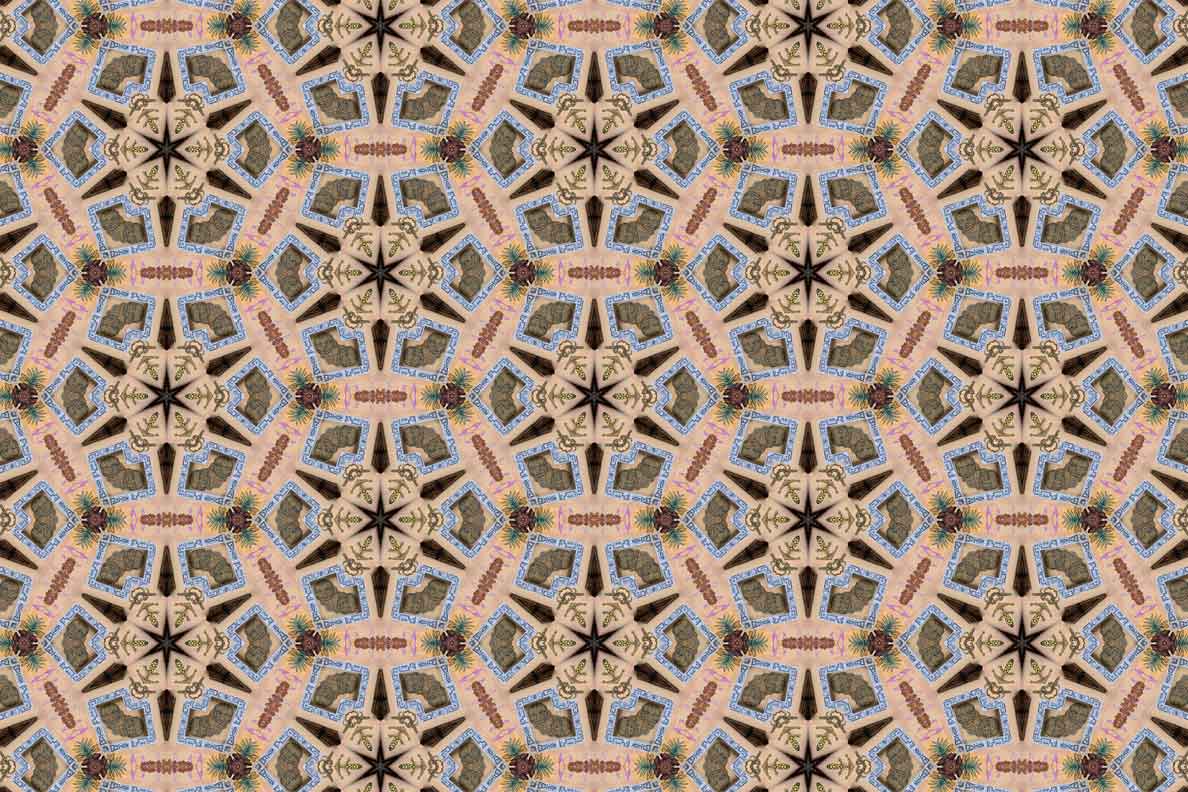
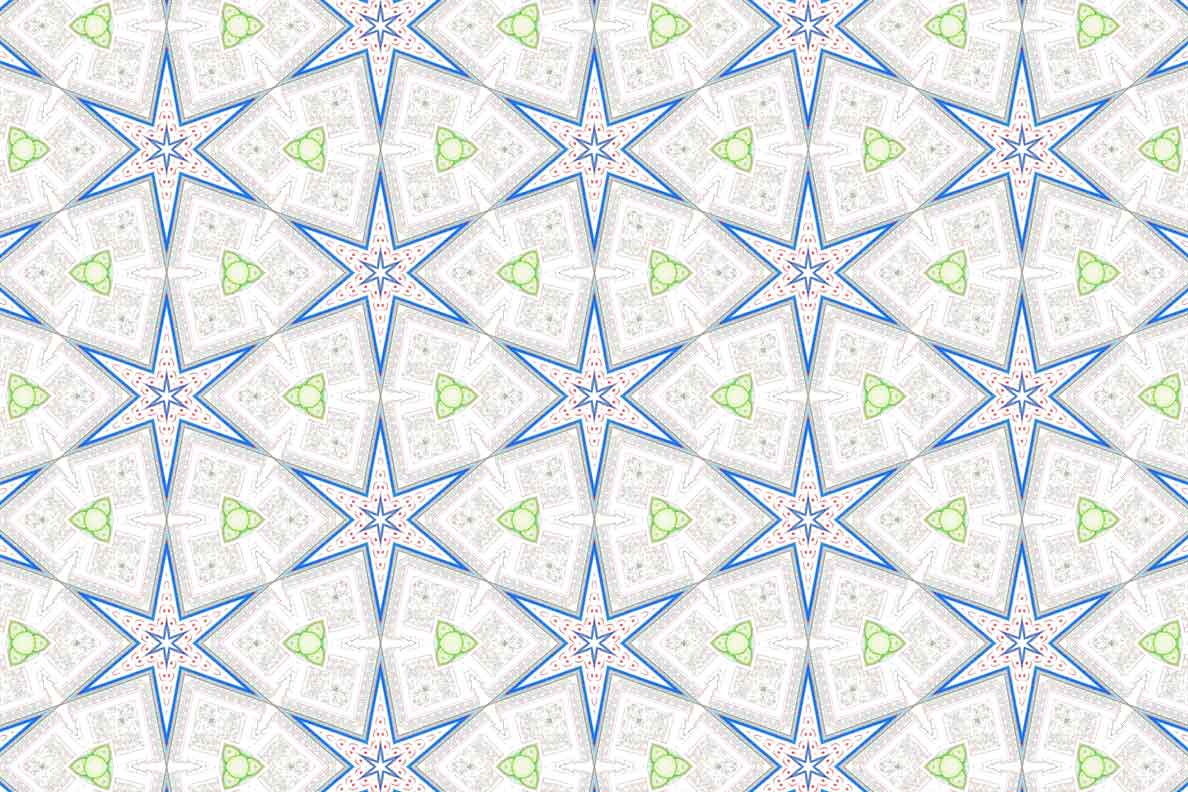
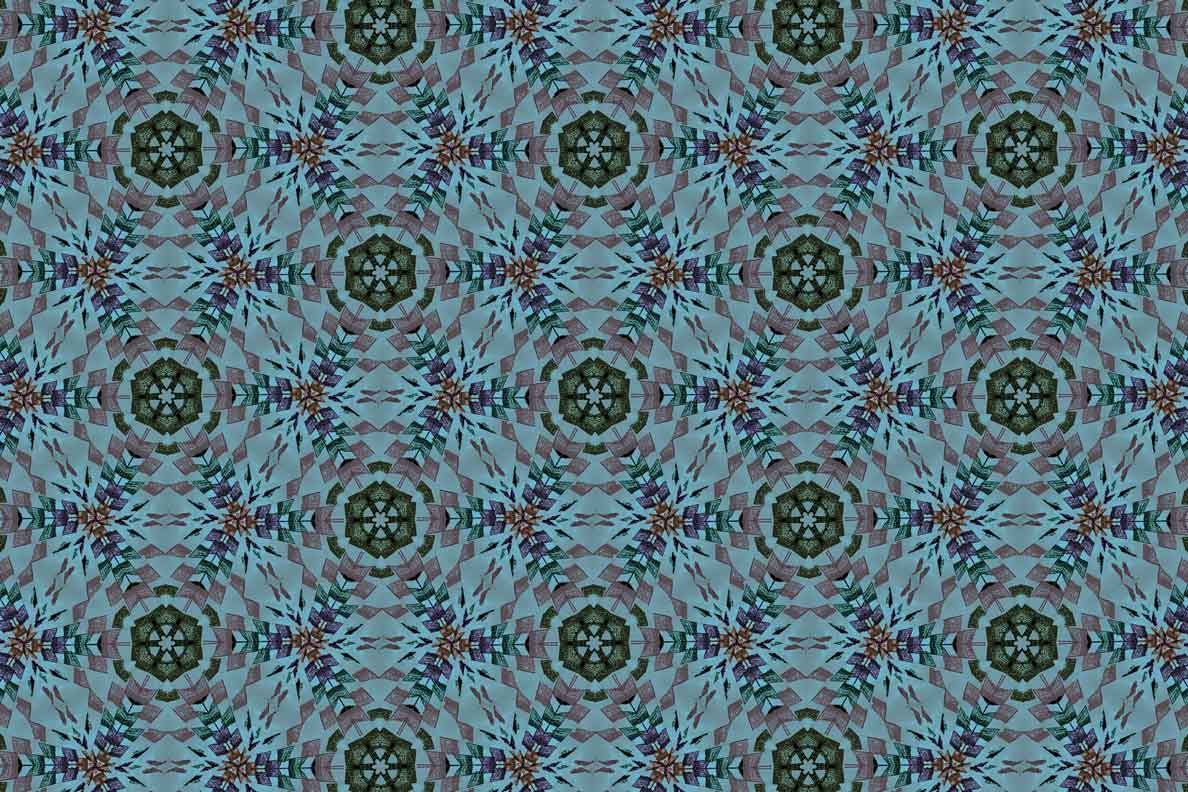

I then put these 6 images into a Photoshop file as layers. In Photoshop you can play with different blending mode options on each layer. This gives you so many options and works really well with kaleidoscopic images as they have the same structure. It then becomes all about exploring and you can certainly spend a lot of time and come up with heaps of nice kaleidoscopes. In fact there is usually way too many beautiful kaleidoscopes that come out of this process so it becomes about your discernment and what you are really wanting from it.

This next gallery contains some of the images I got out of my first attempt at playing with this process.

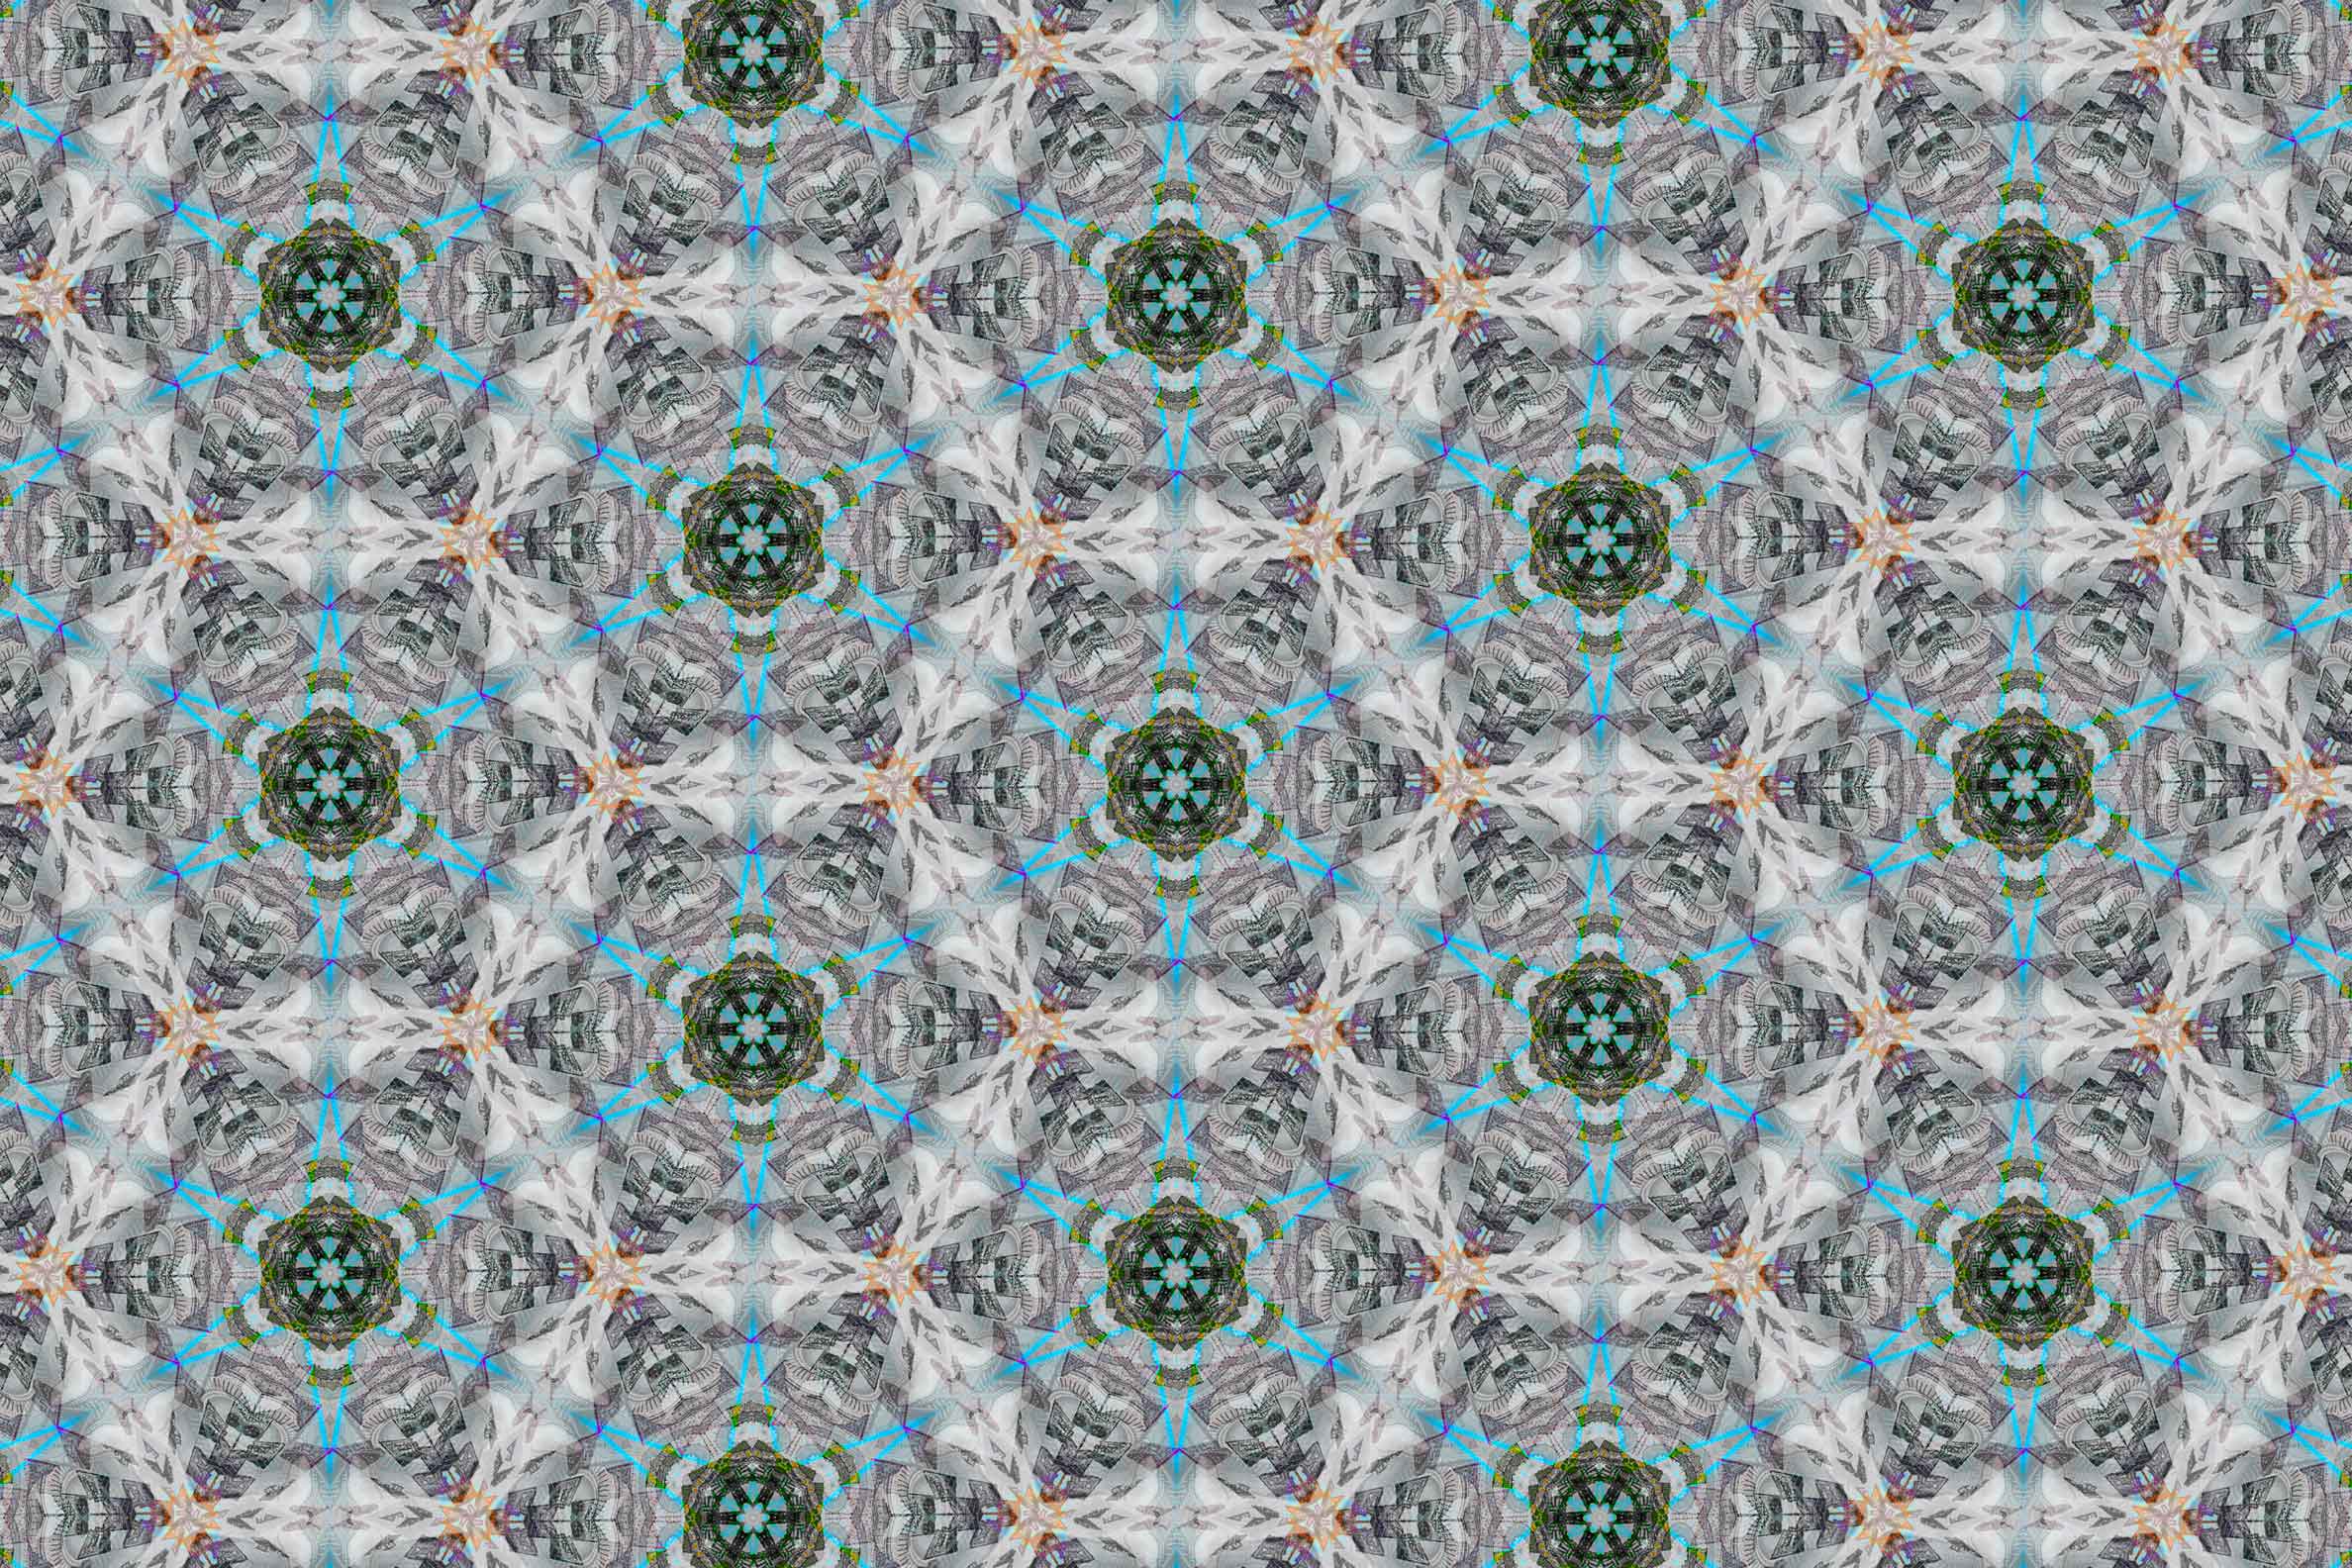
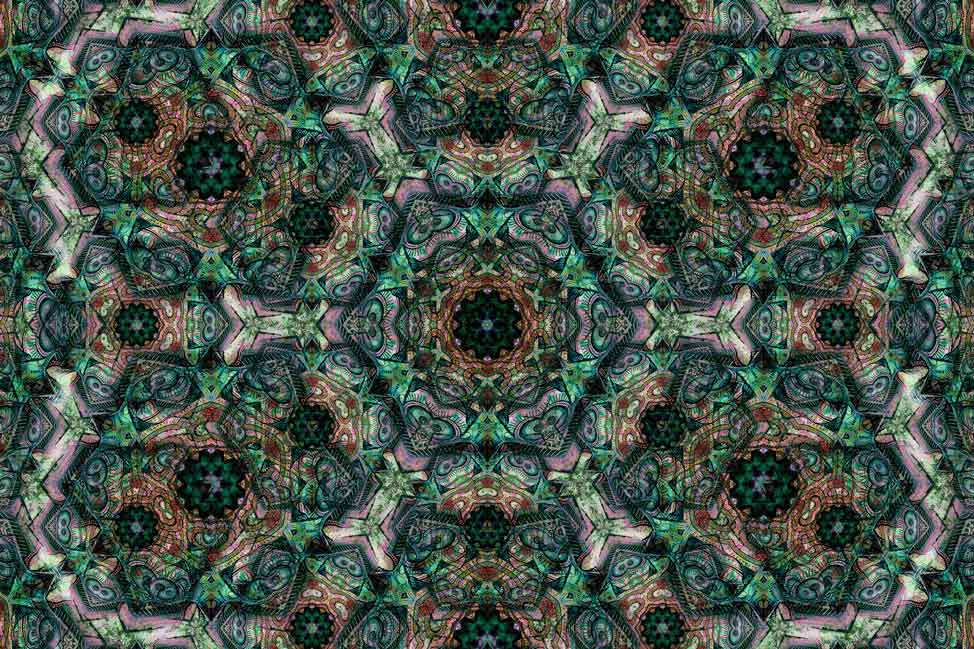

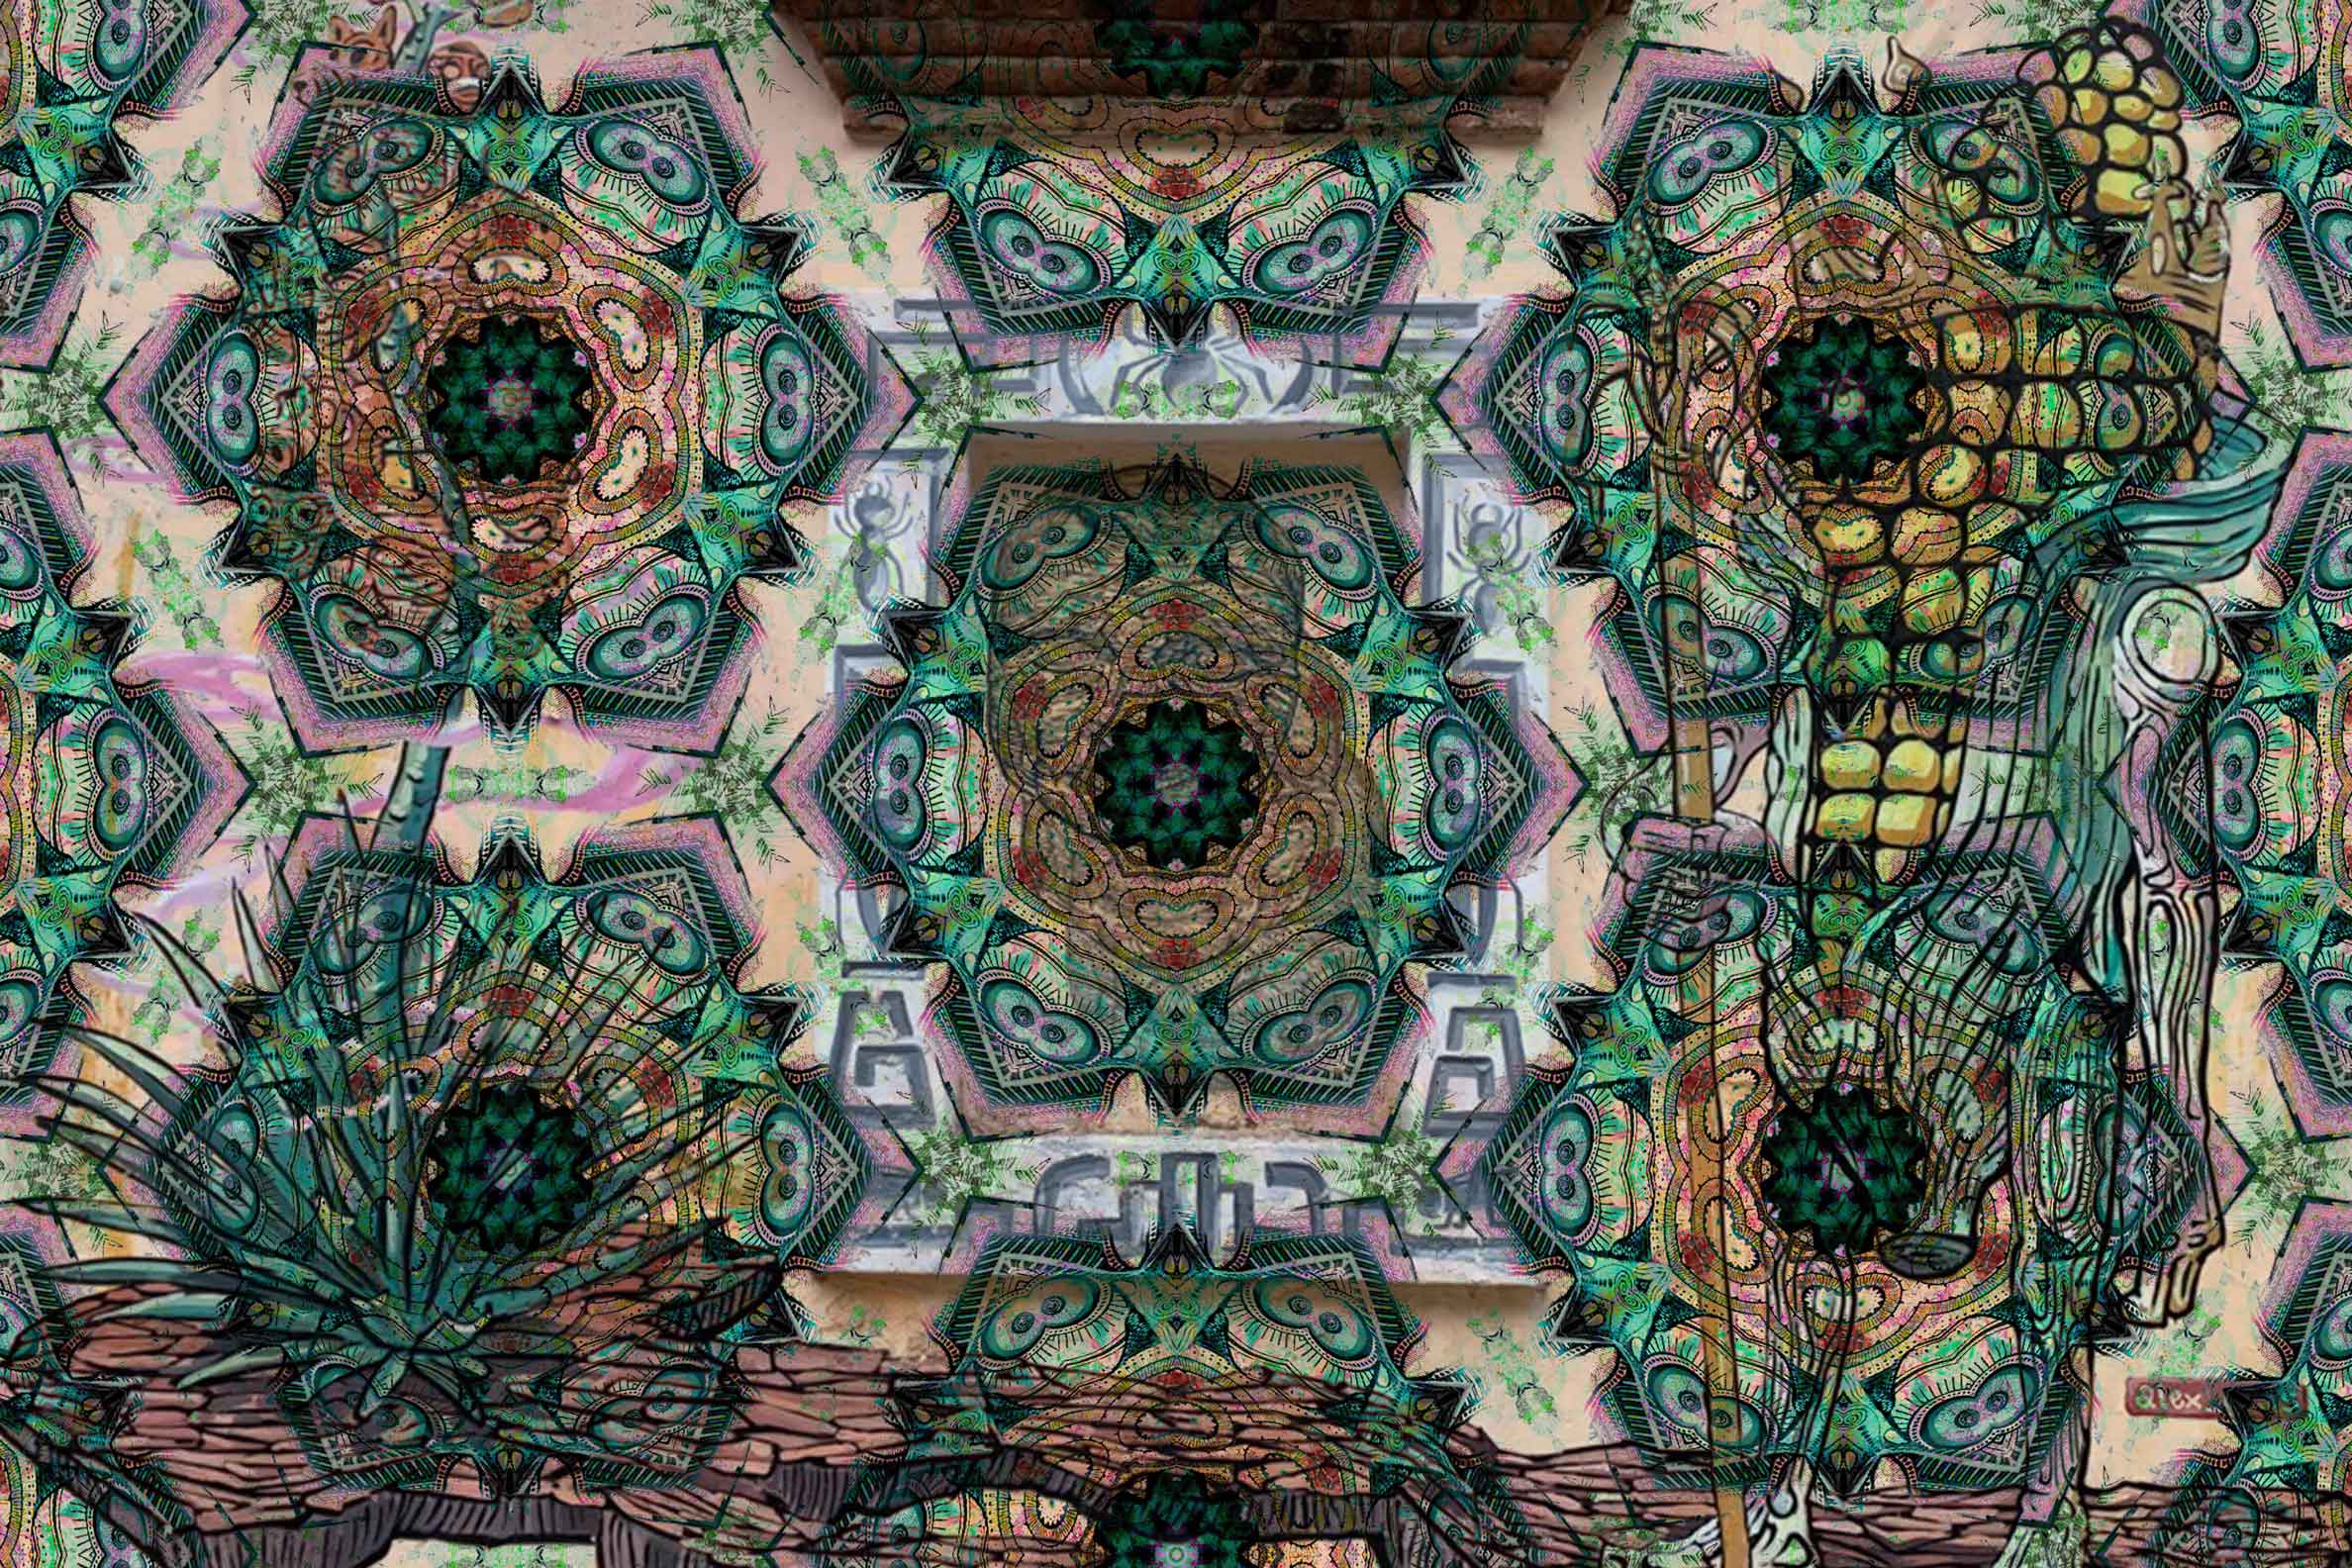
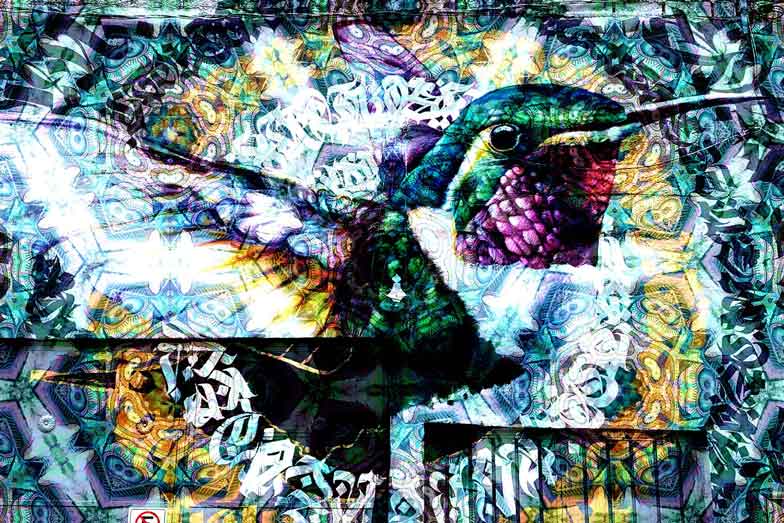
I have to say that they all have something about them, but none of them quite do it for me. At least I can’t see them being used commercially. That said I’d love to hear what you think about them.
The above images were made during a few hours on the Thursday evening. The next day I reordered the layers and started to play with the blending mode on each layer. It can take a while to choose the right blending mode for each layer, and each choice will take the work in a completely different direction. Here are 3 images that show the diversity of effect you can get just from changing the blending mode on one layer.

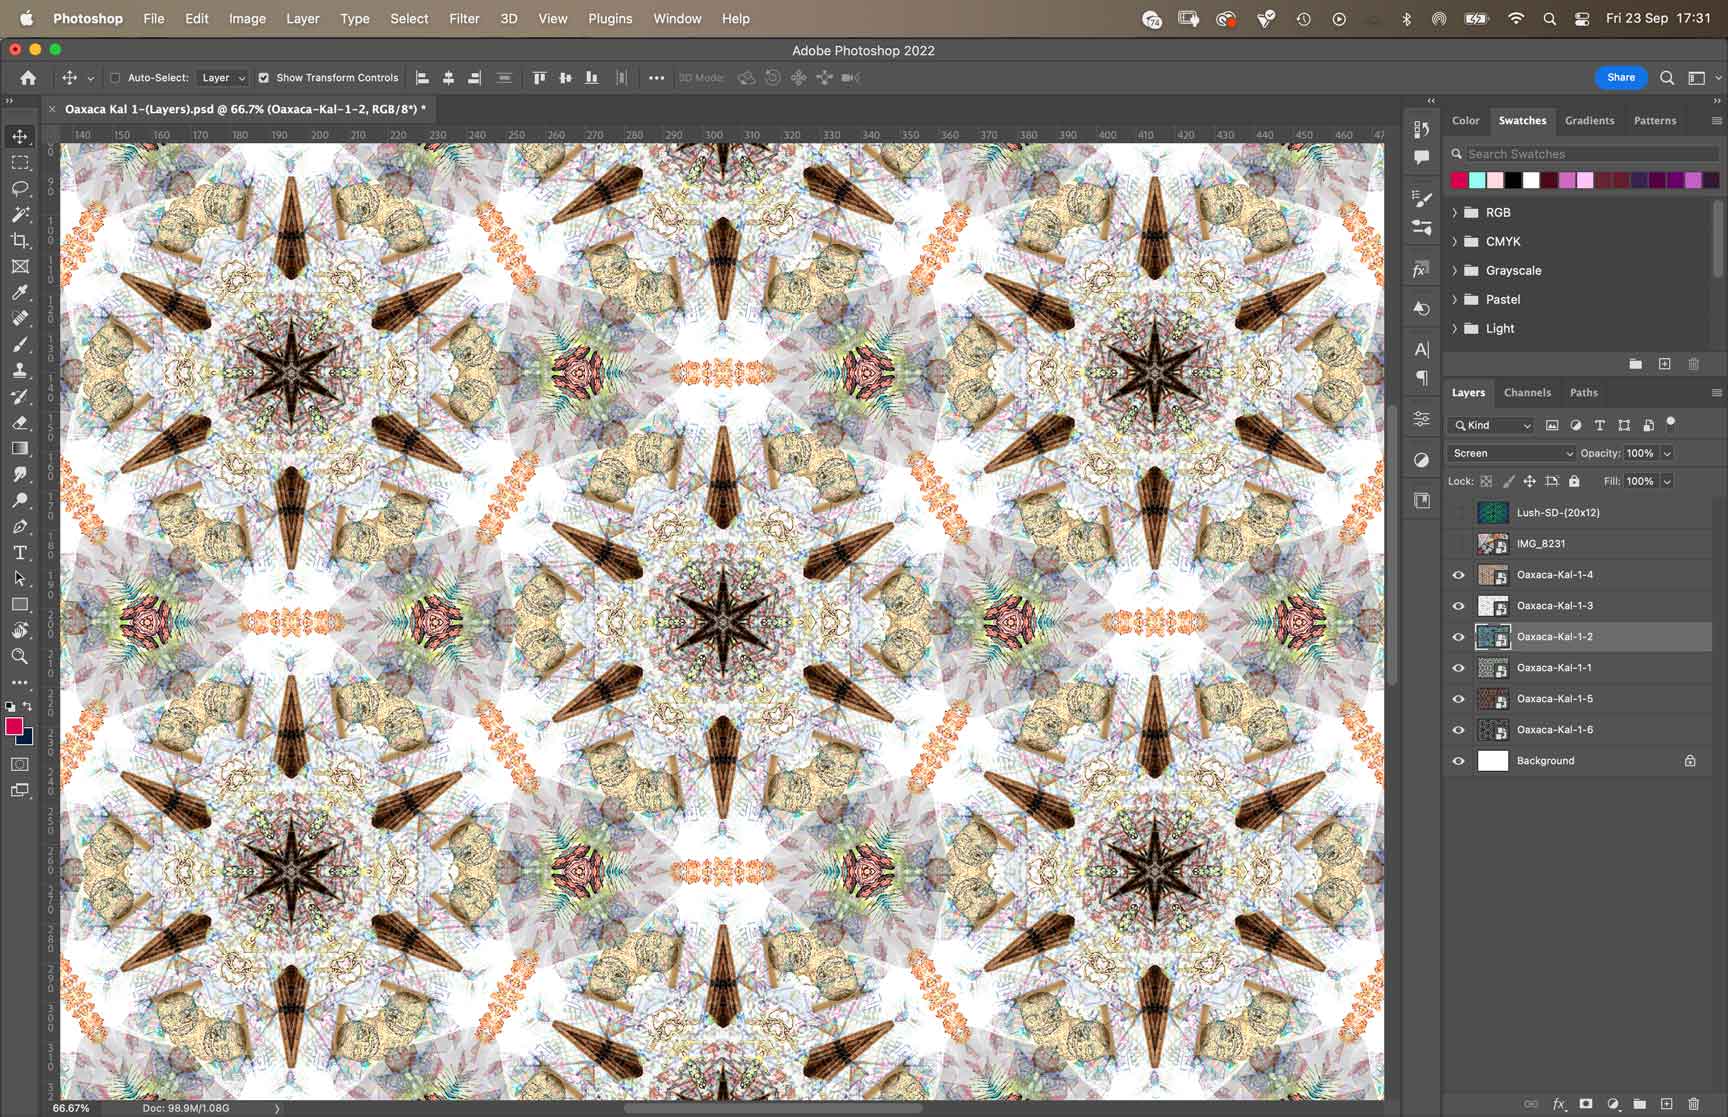
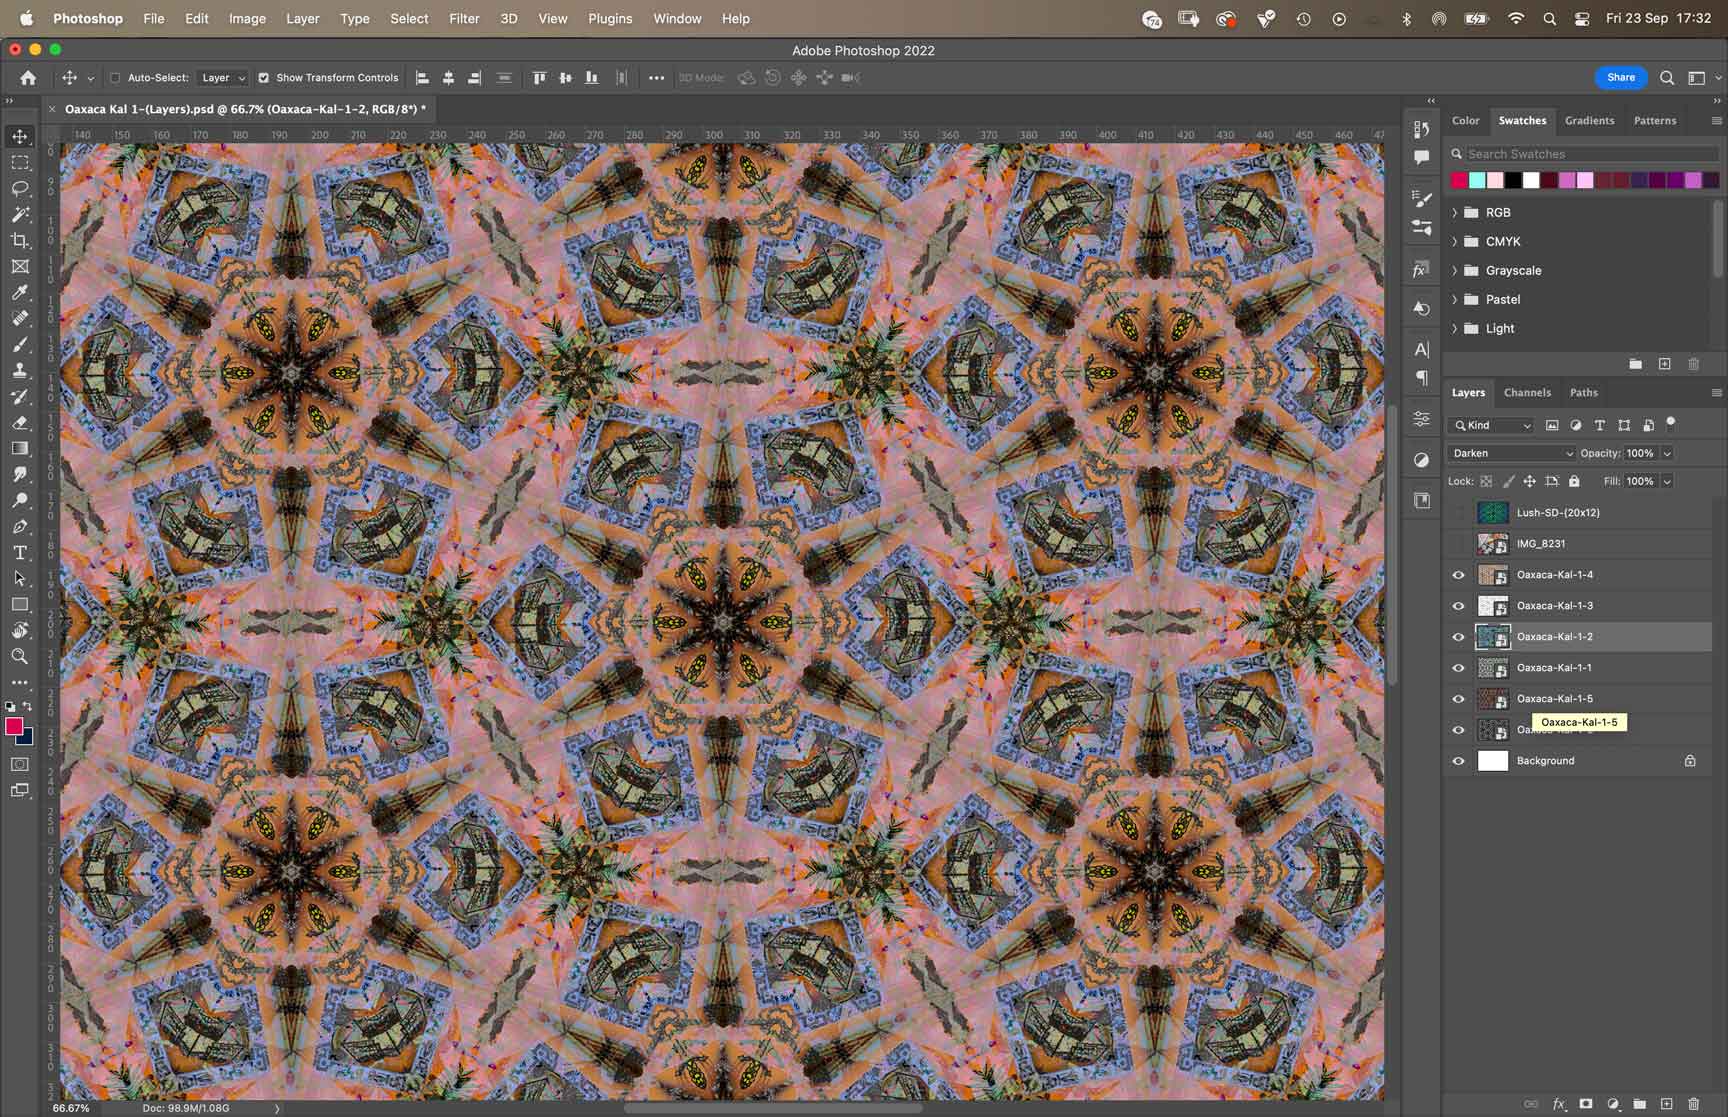
I was wondering why these were so different from the last lot I did and then I remembered that I had used a coloured backgrounds with a gradient colours. They helped break up the image so I opened up a previous Photoshop file, Grand Piano 2. I copied it over to my new piece and played around with the colours.
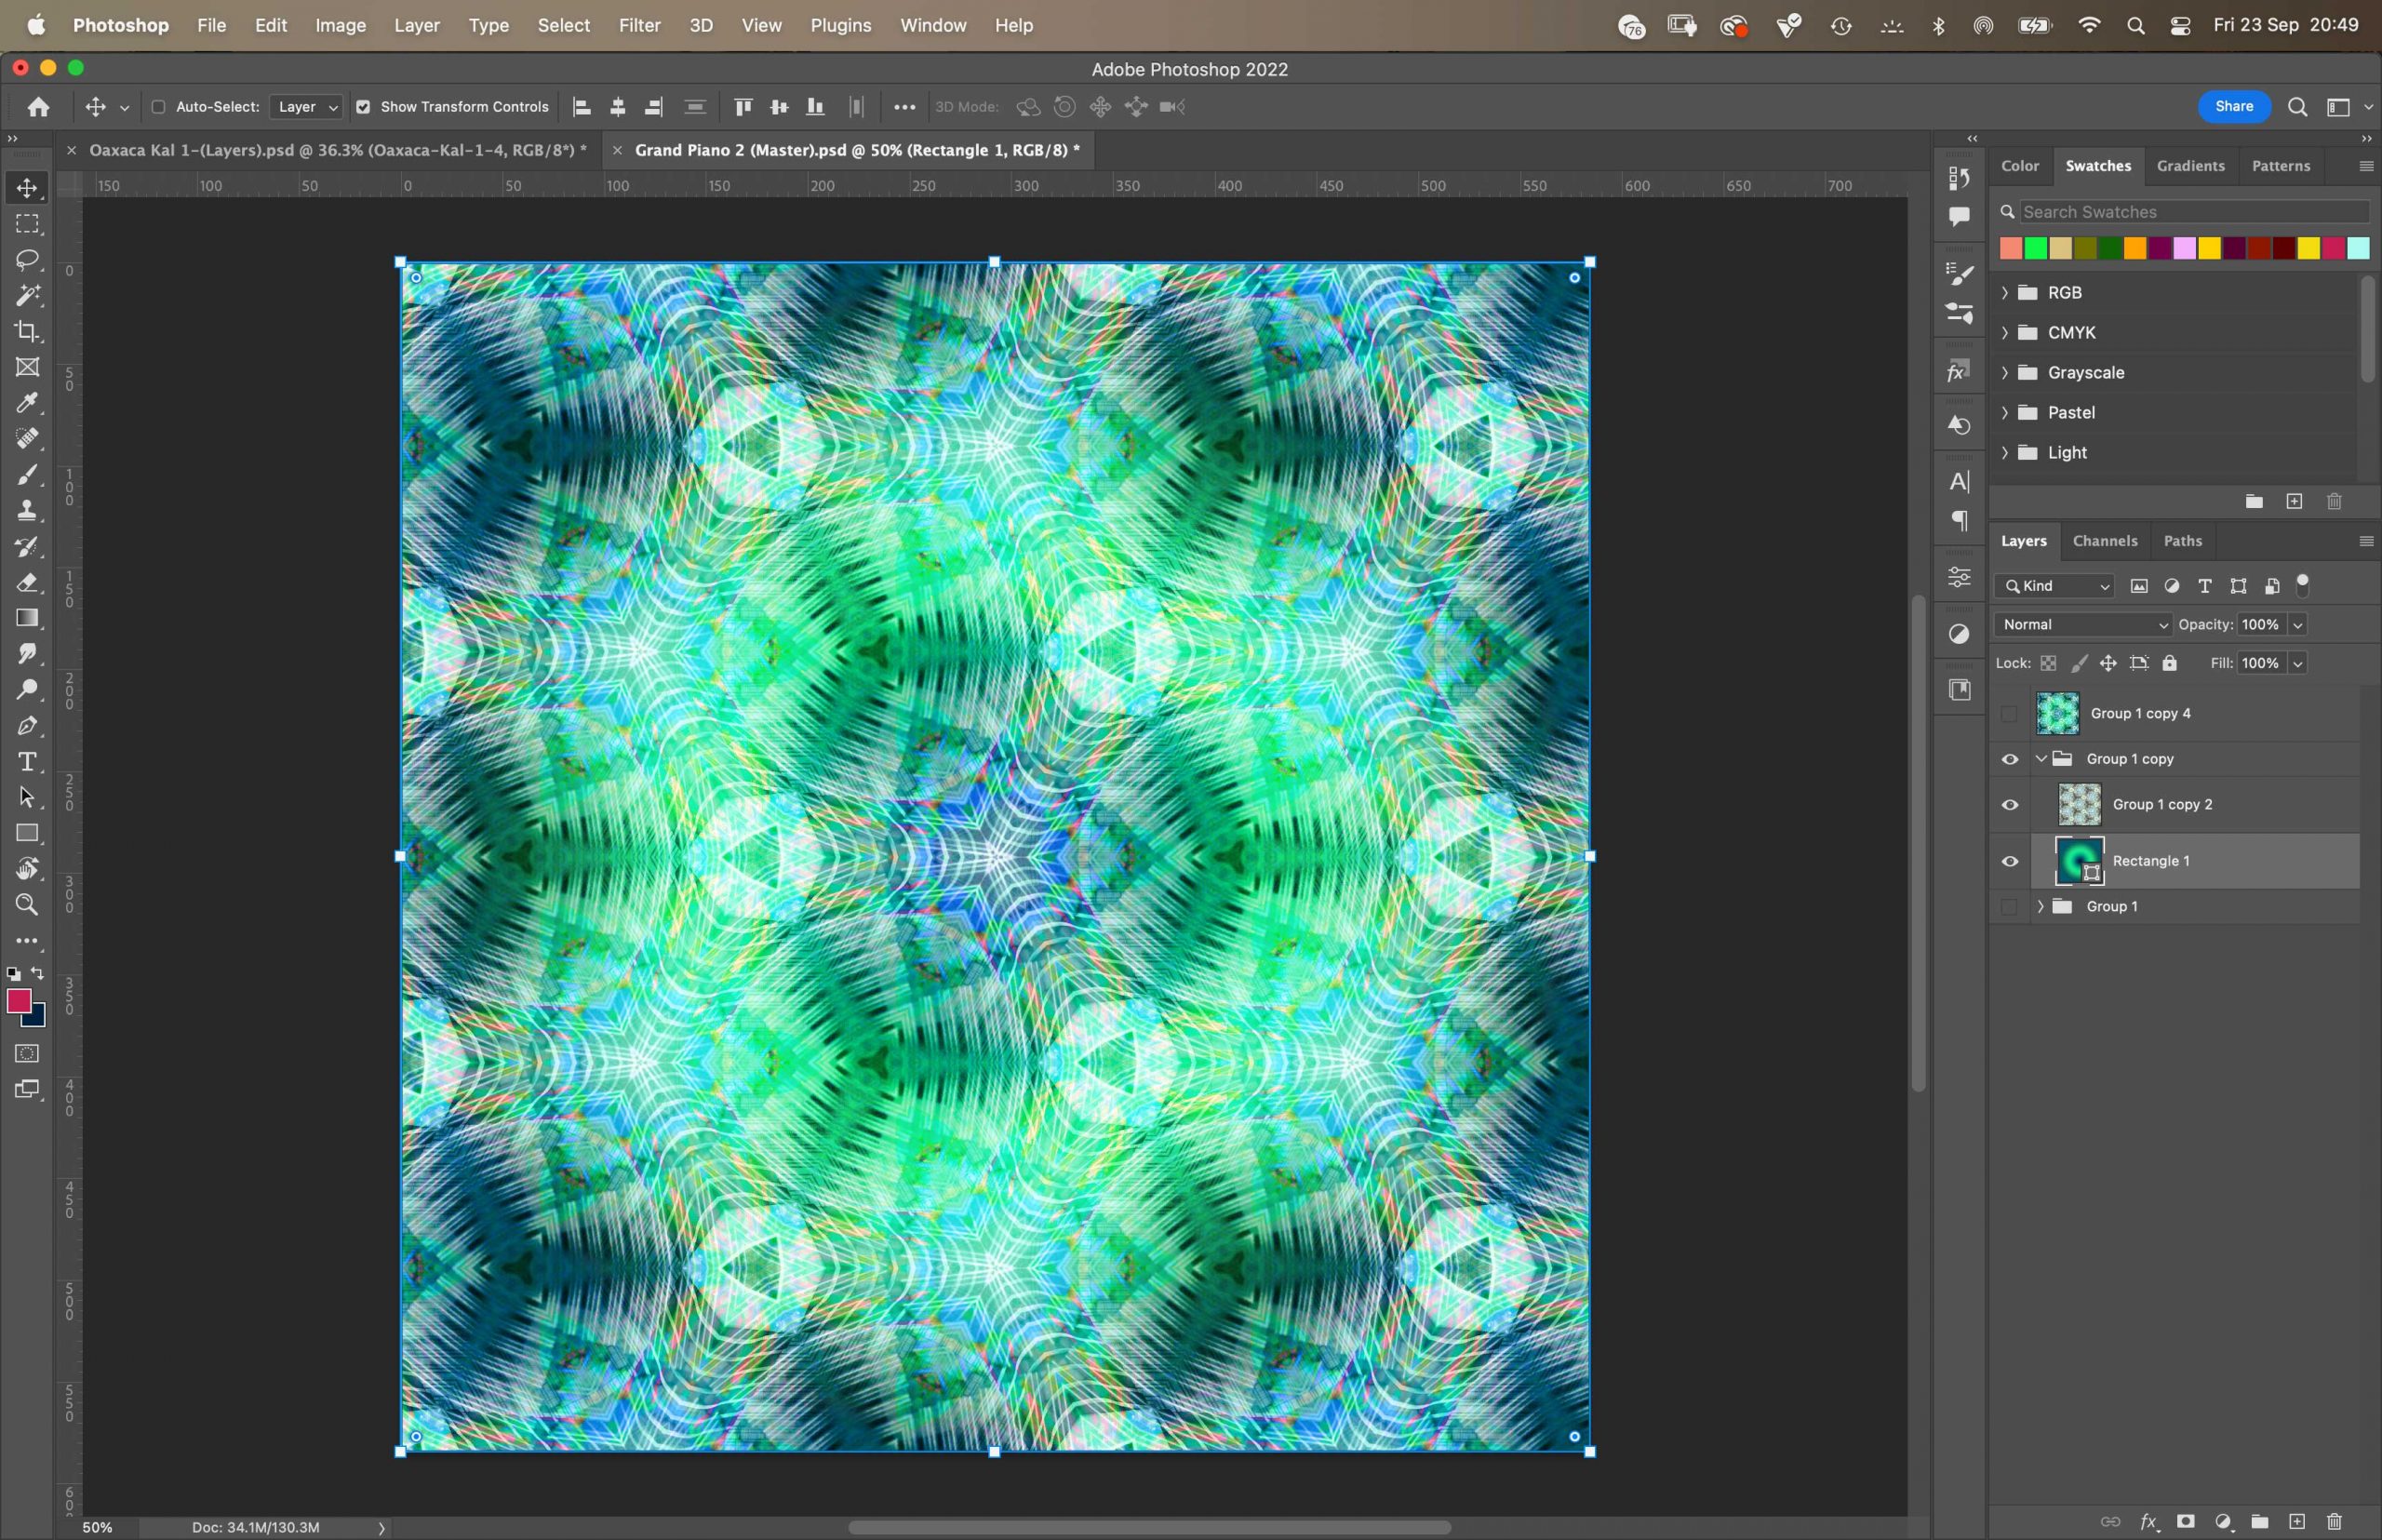

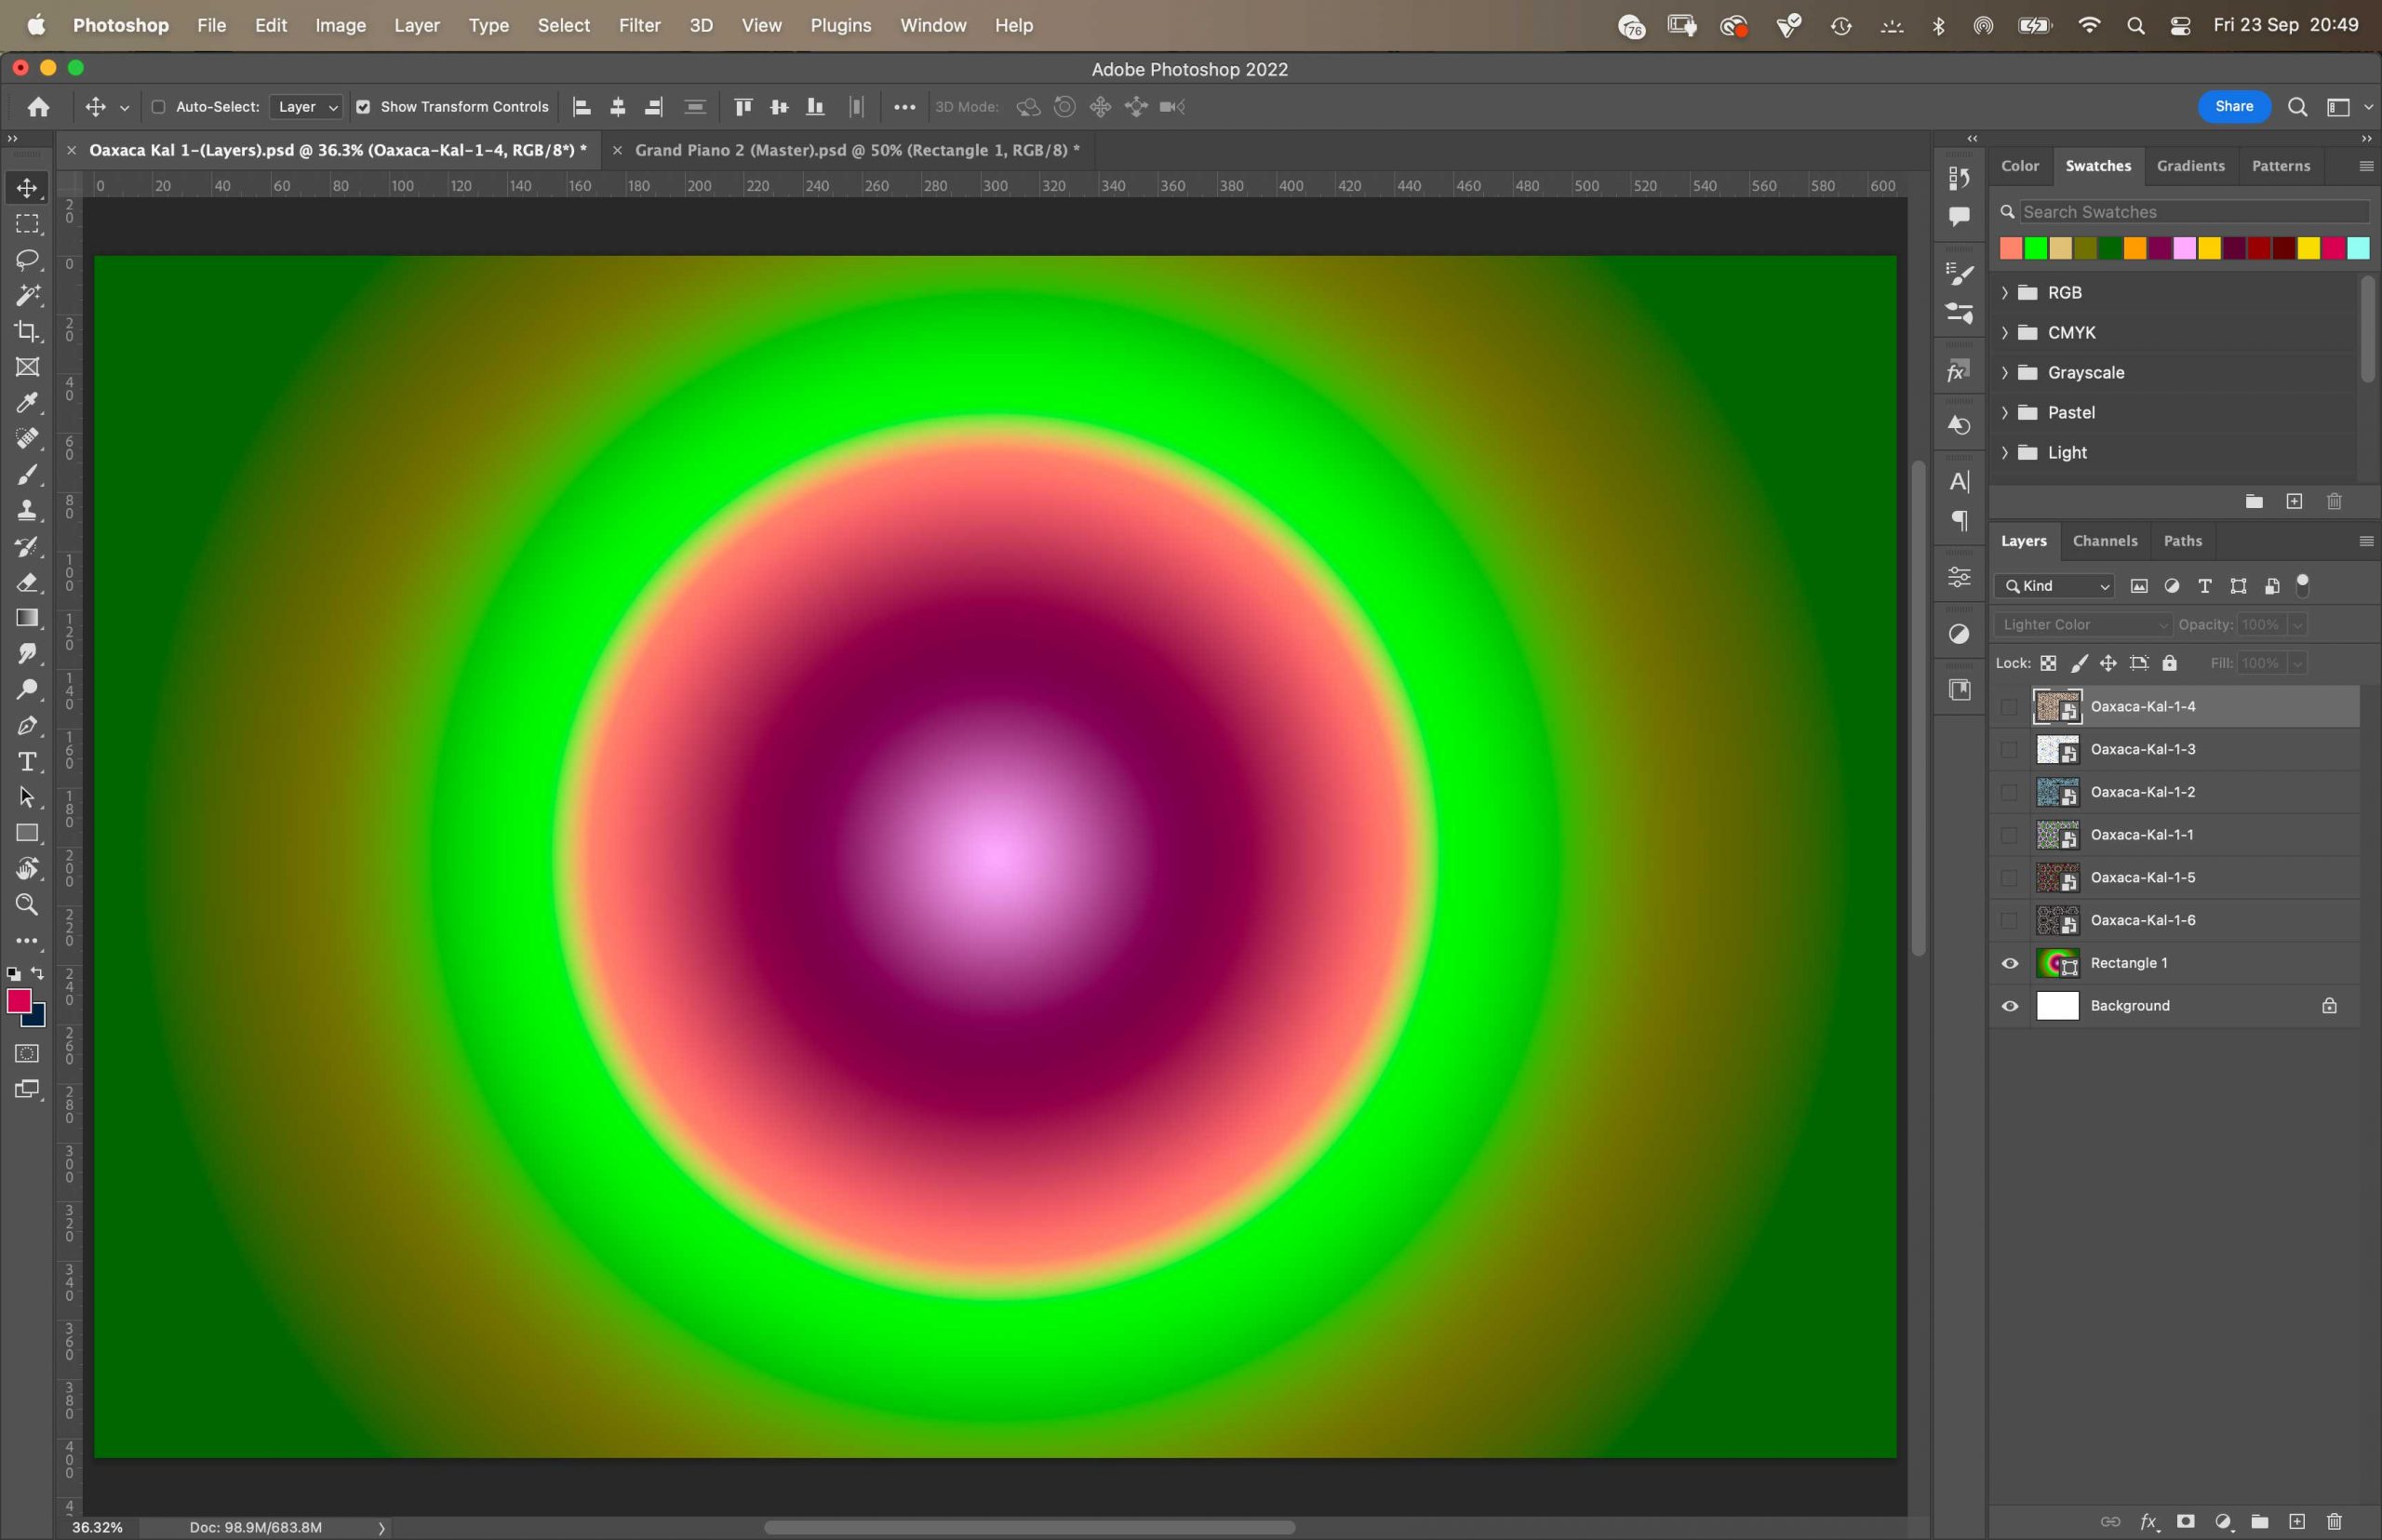
It was at this point that I started to see it really come alive. I’ve taken 21 screenshots of the journey I took.
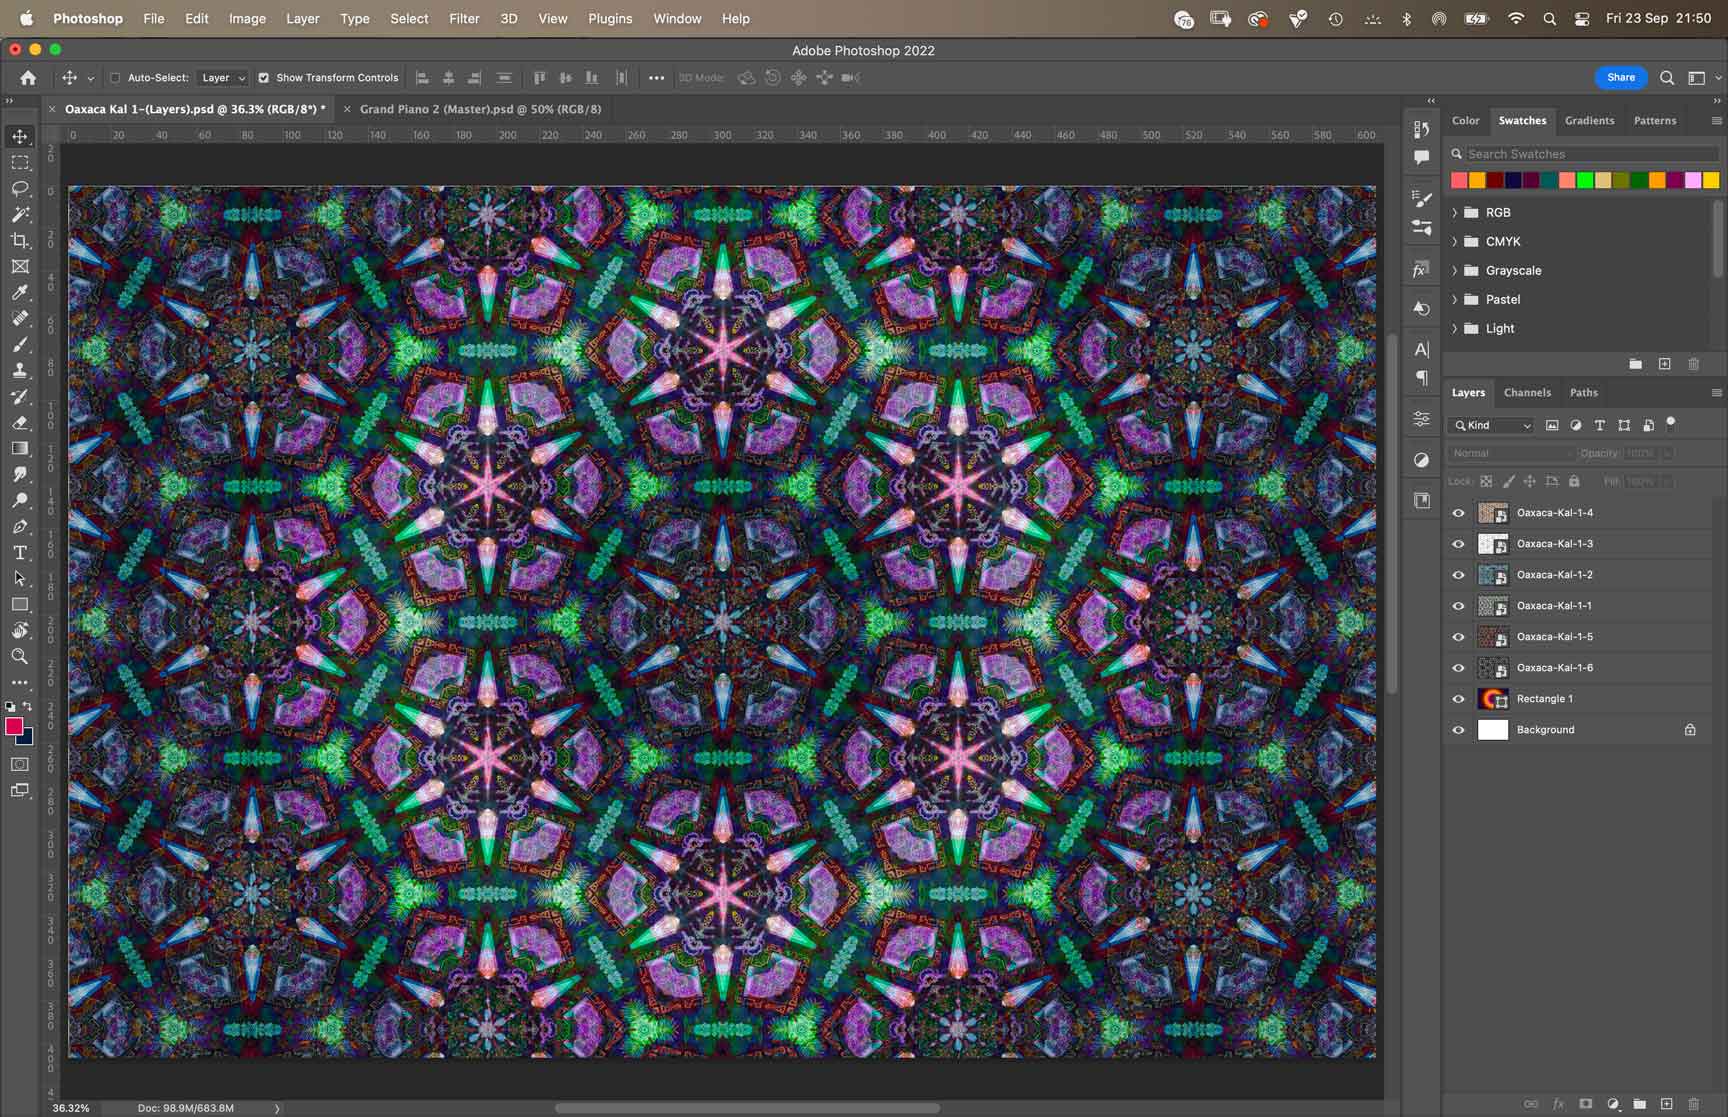

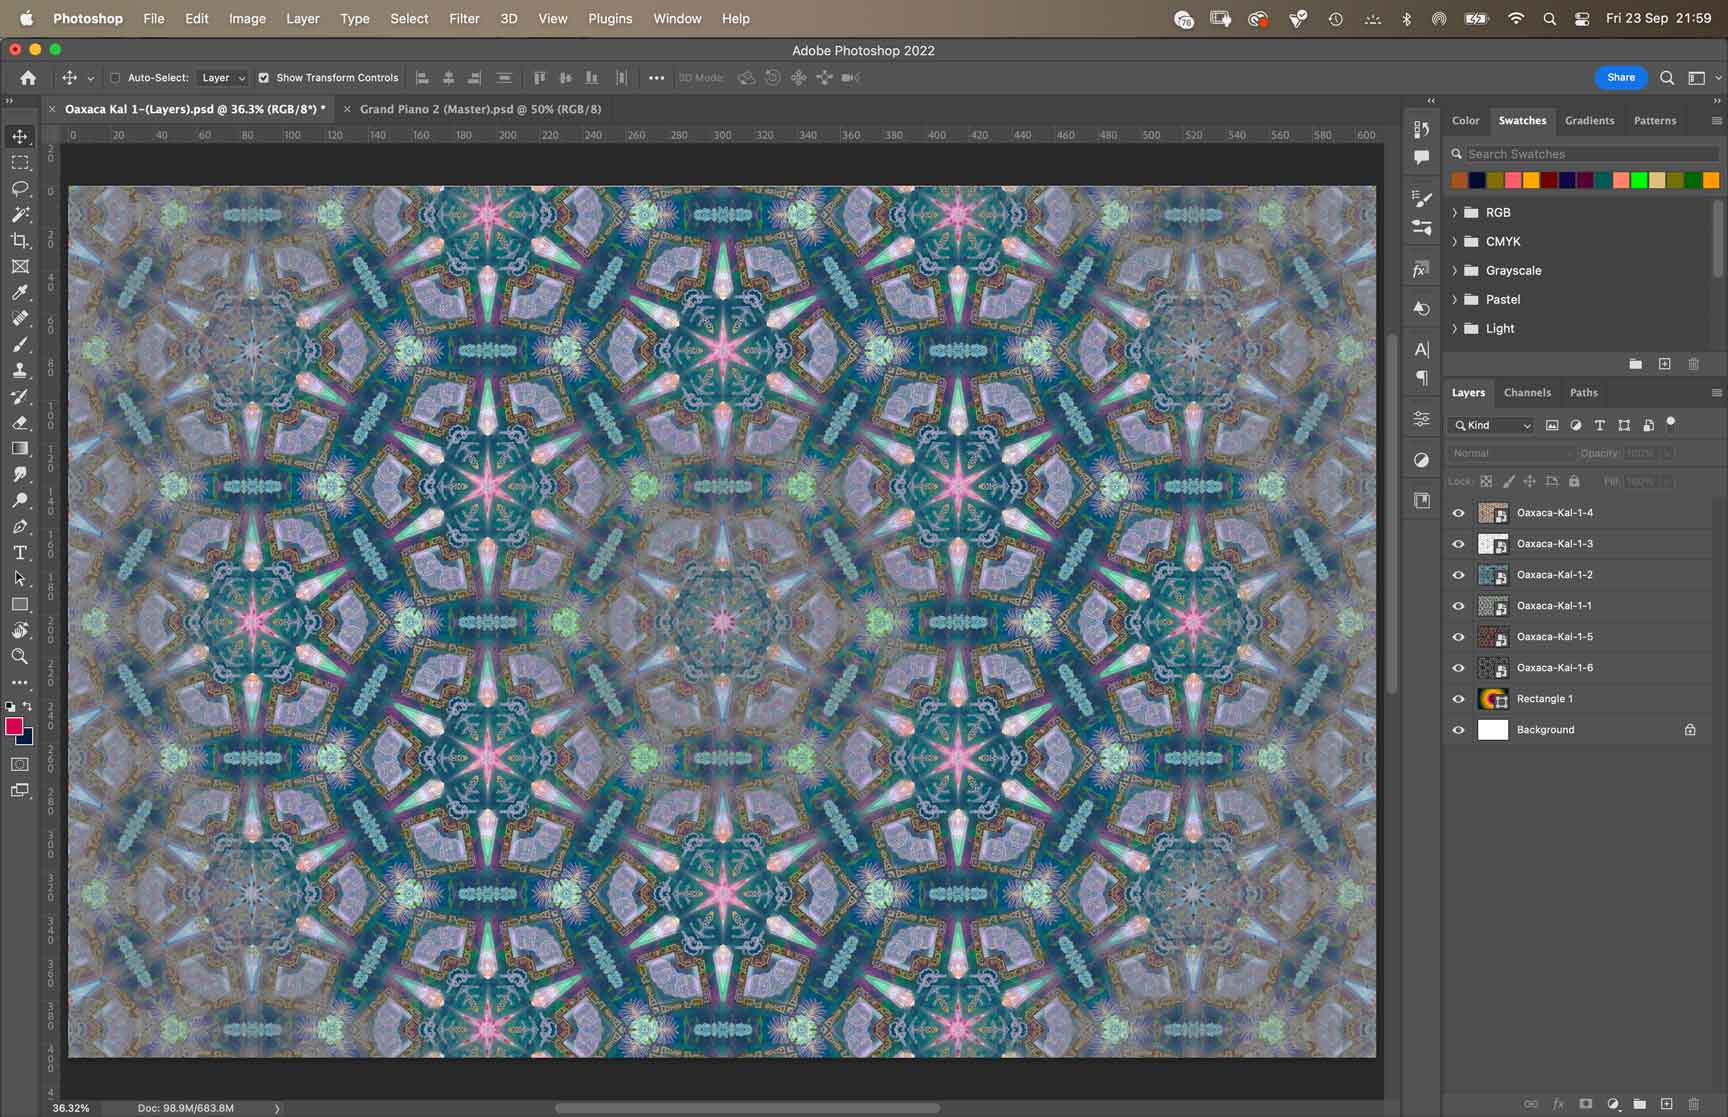
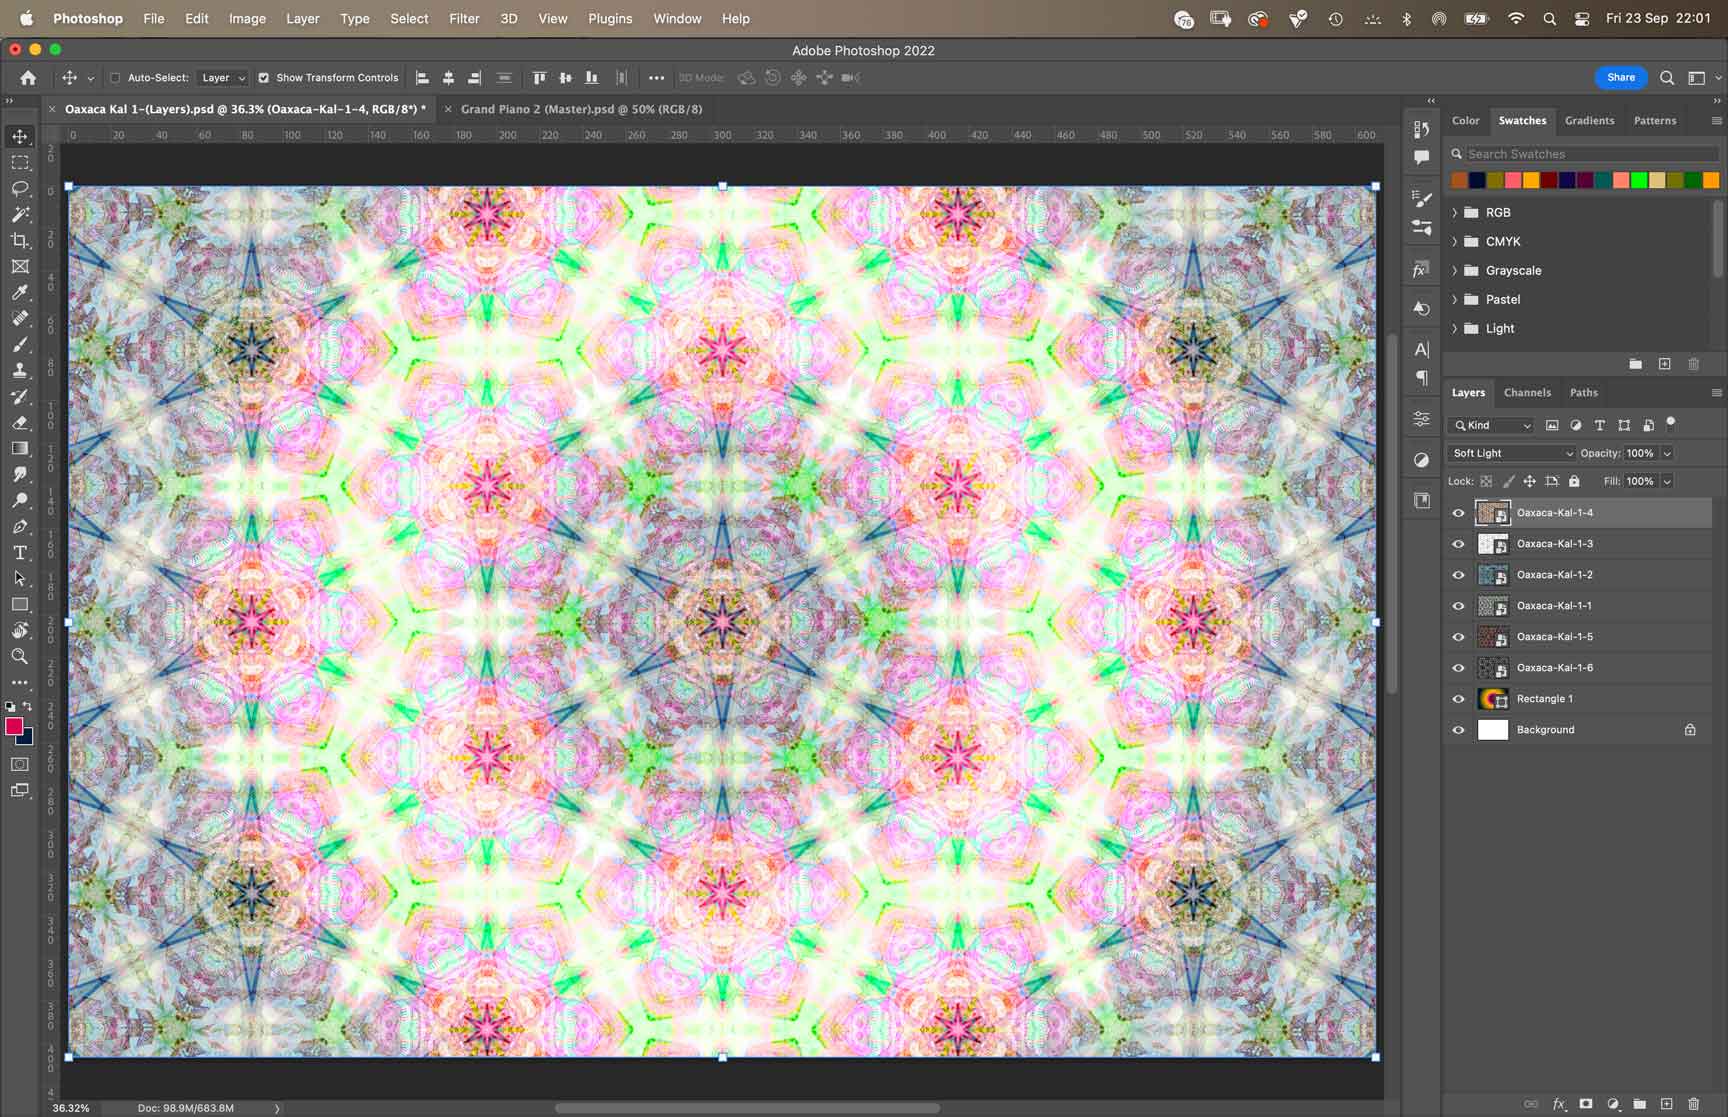

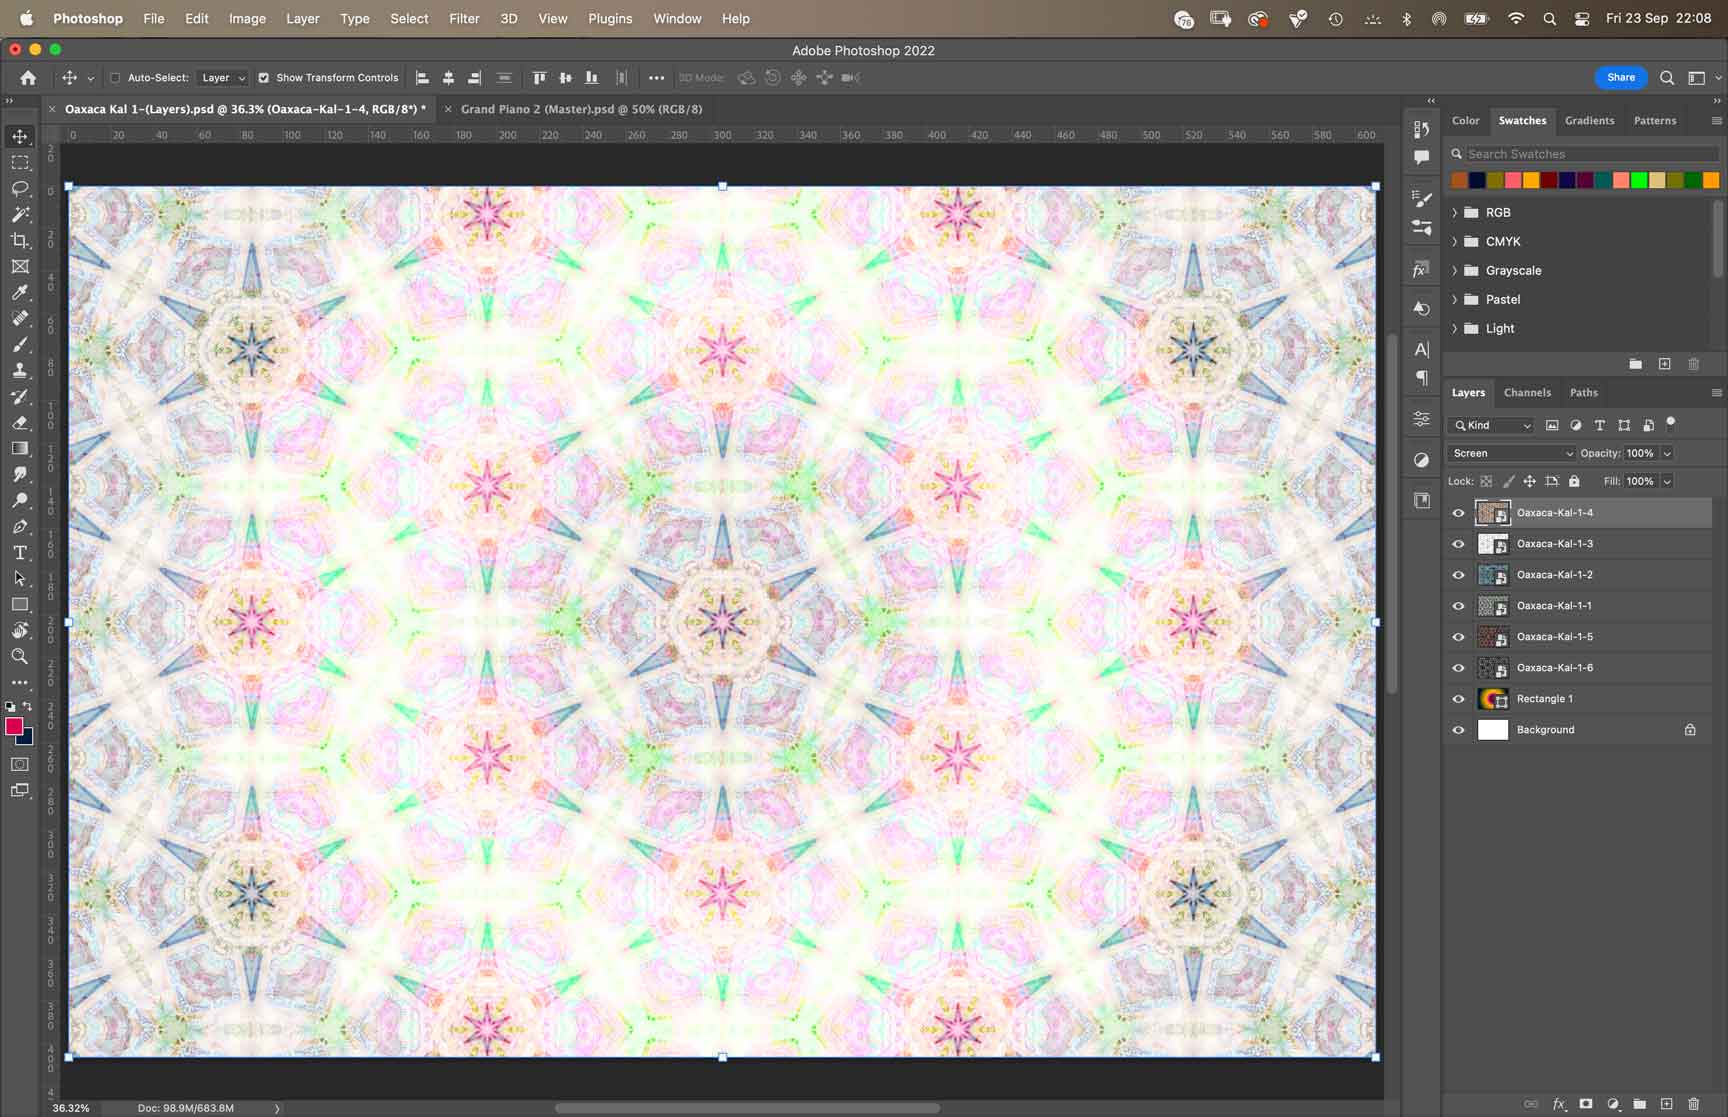
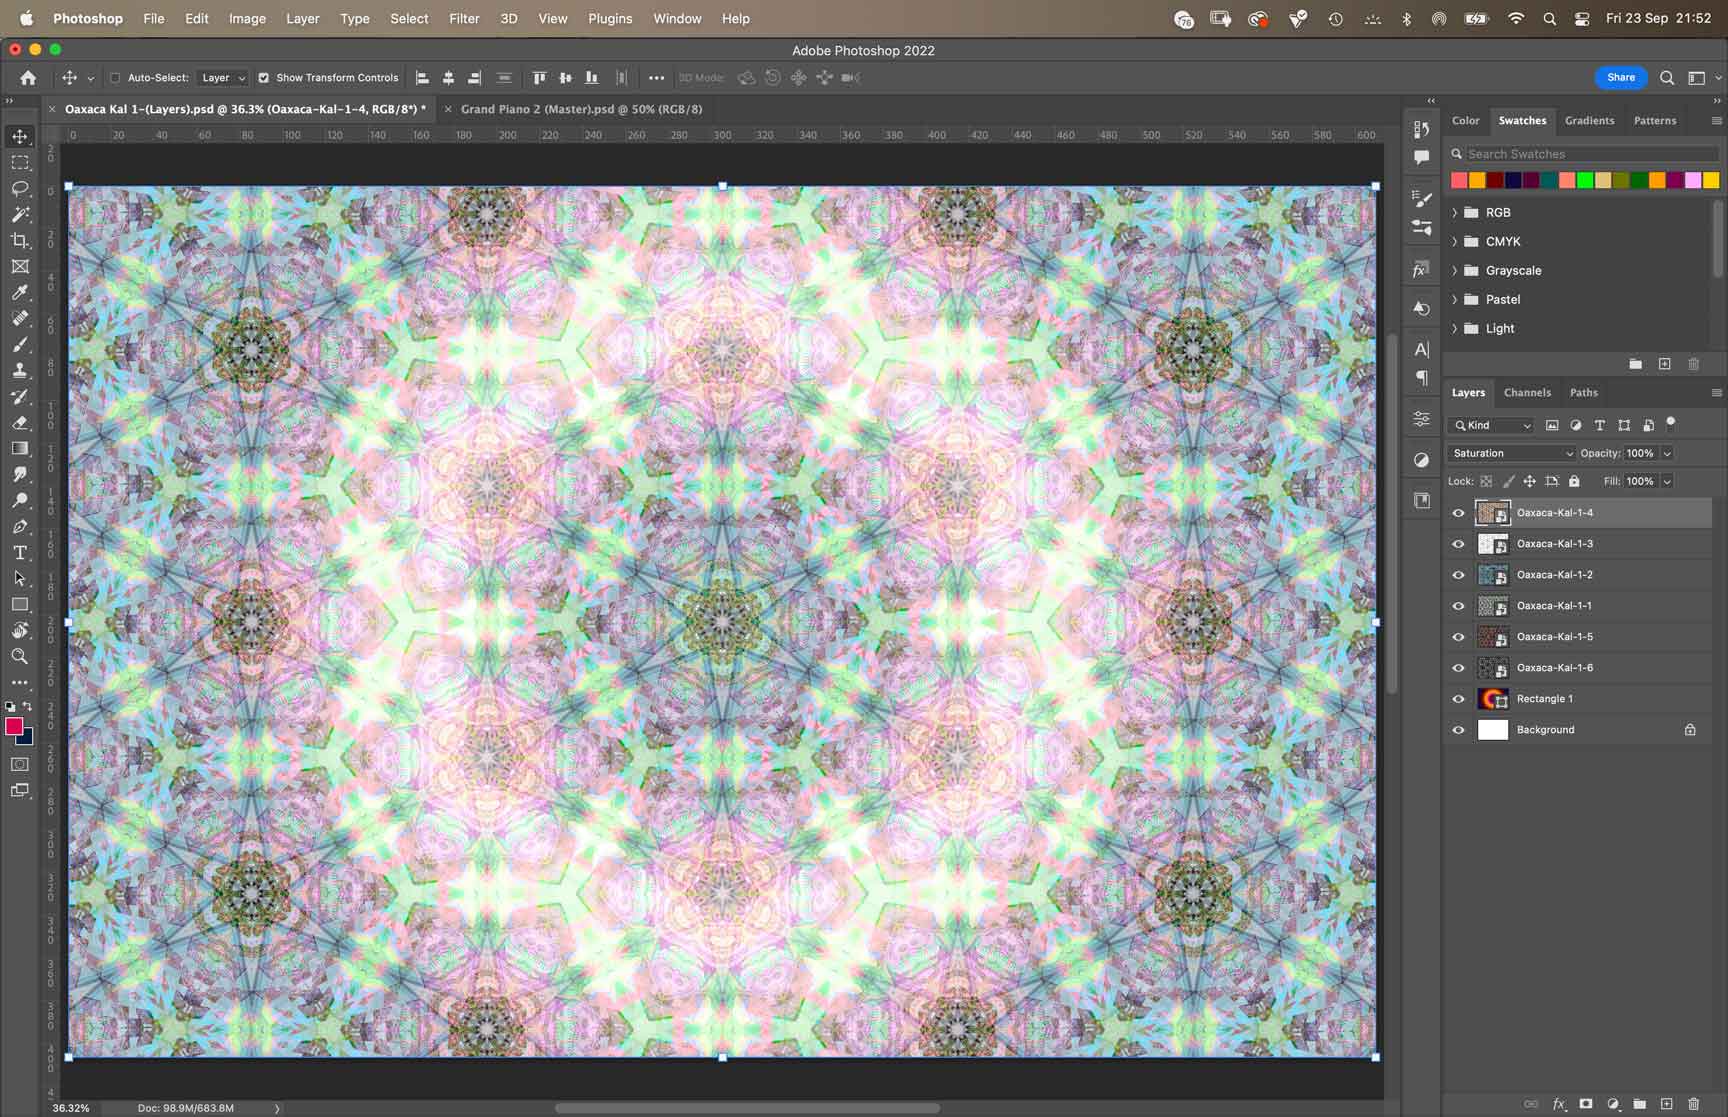
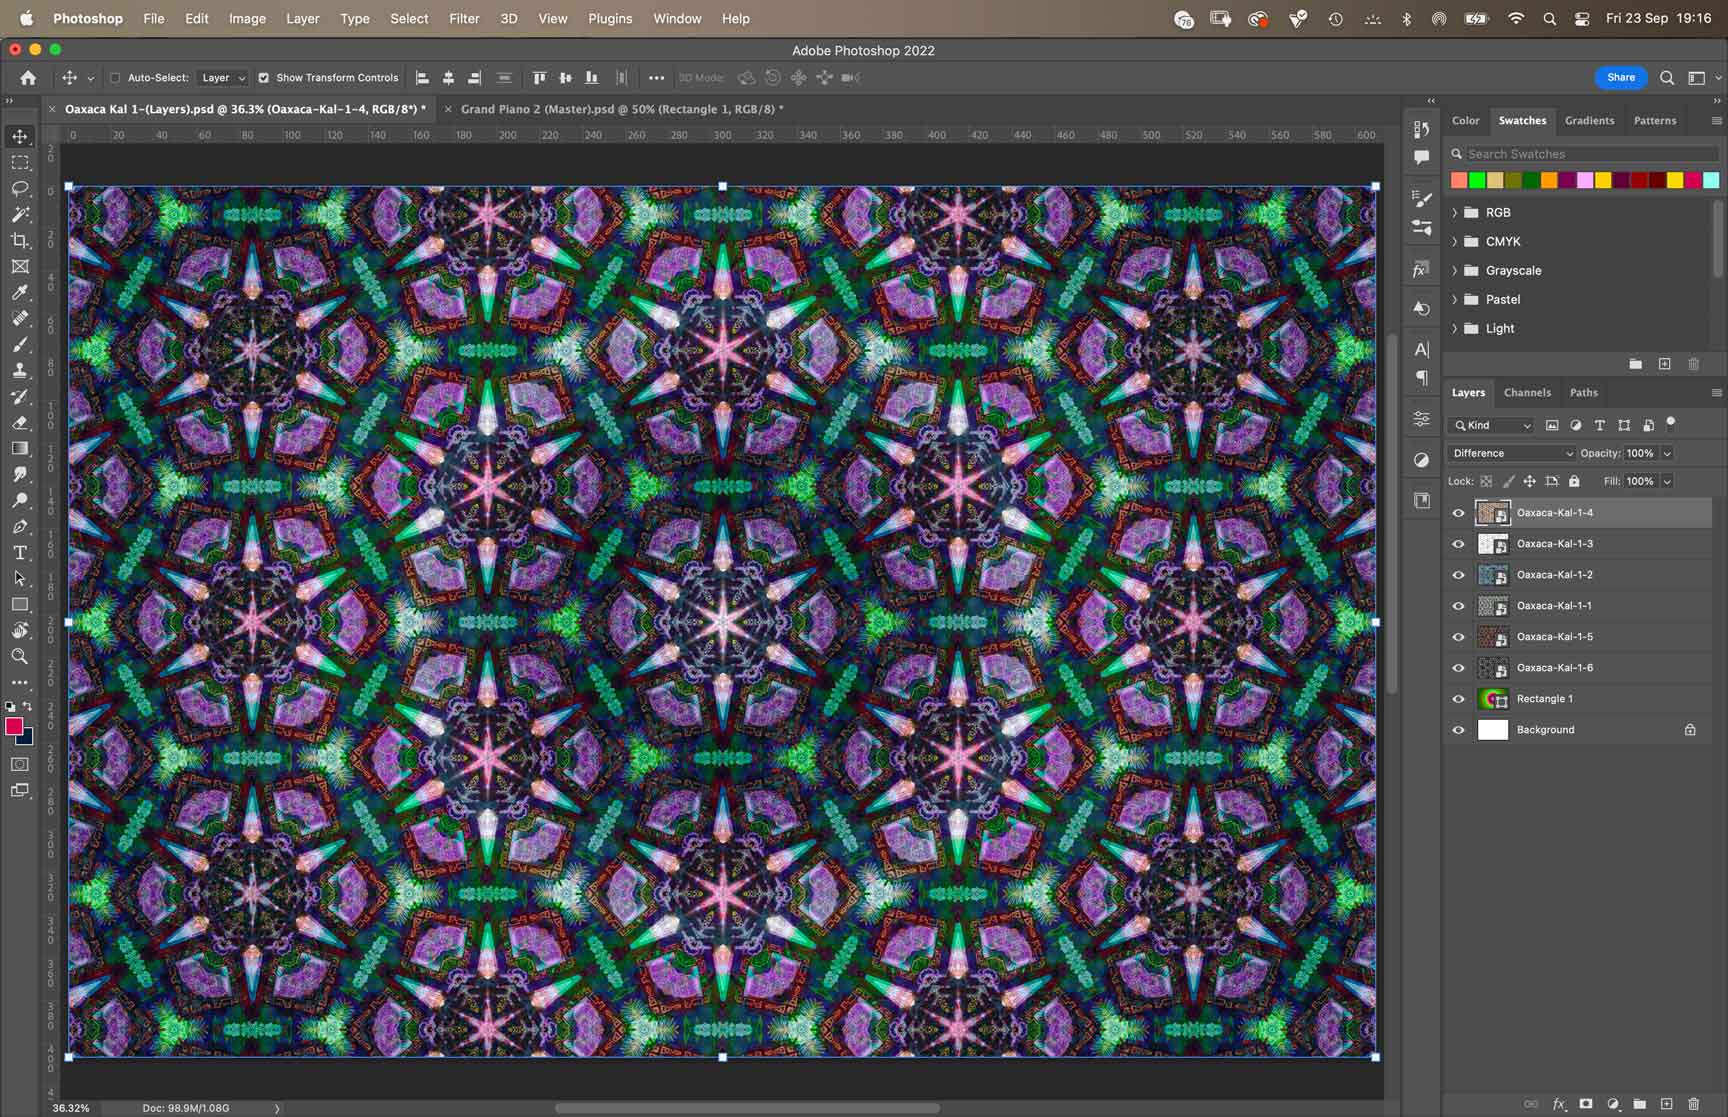
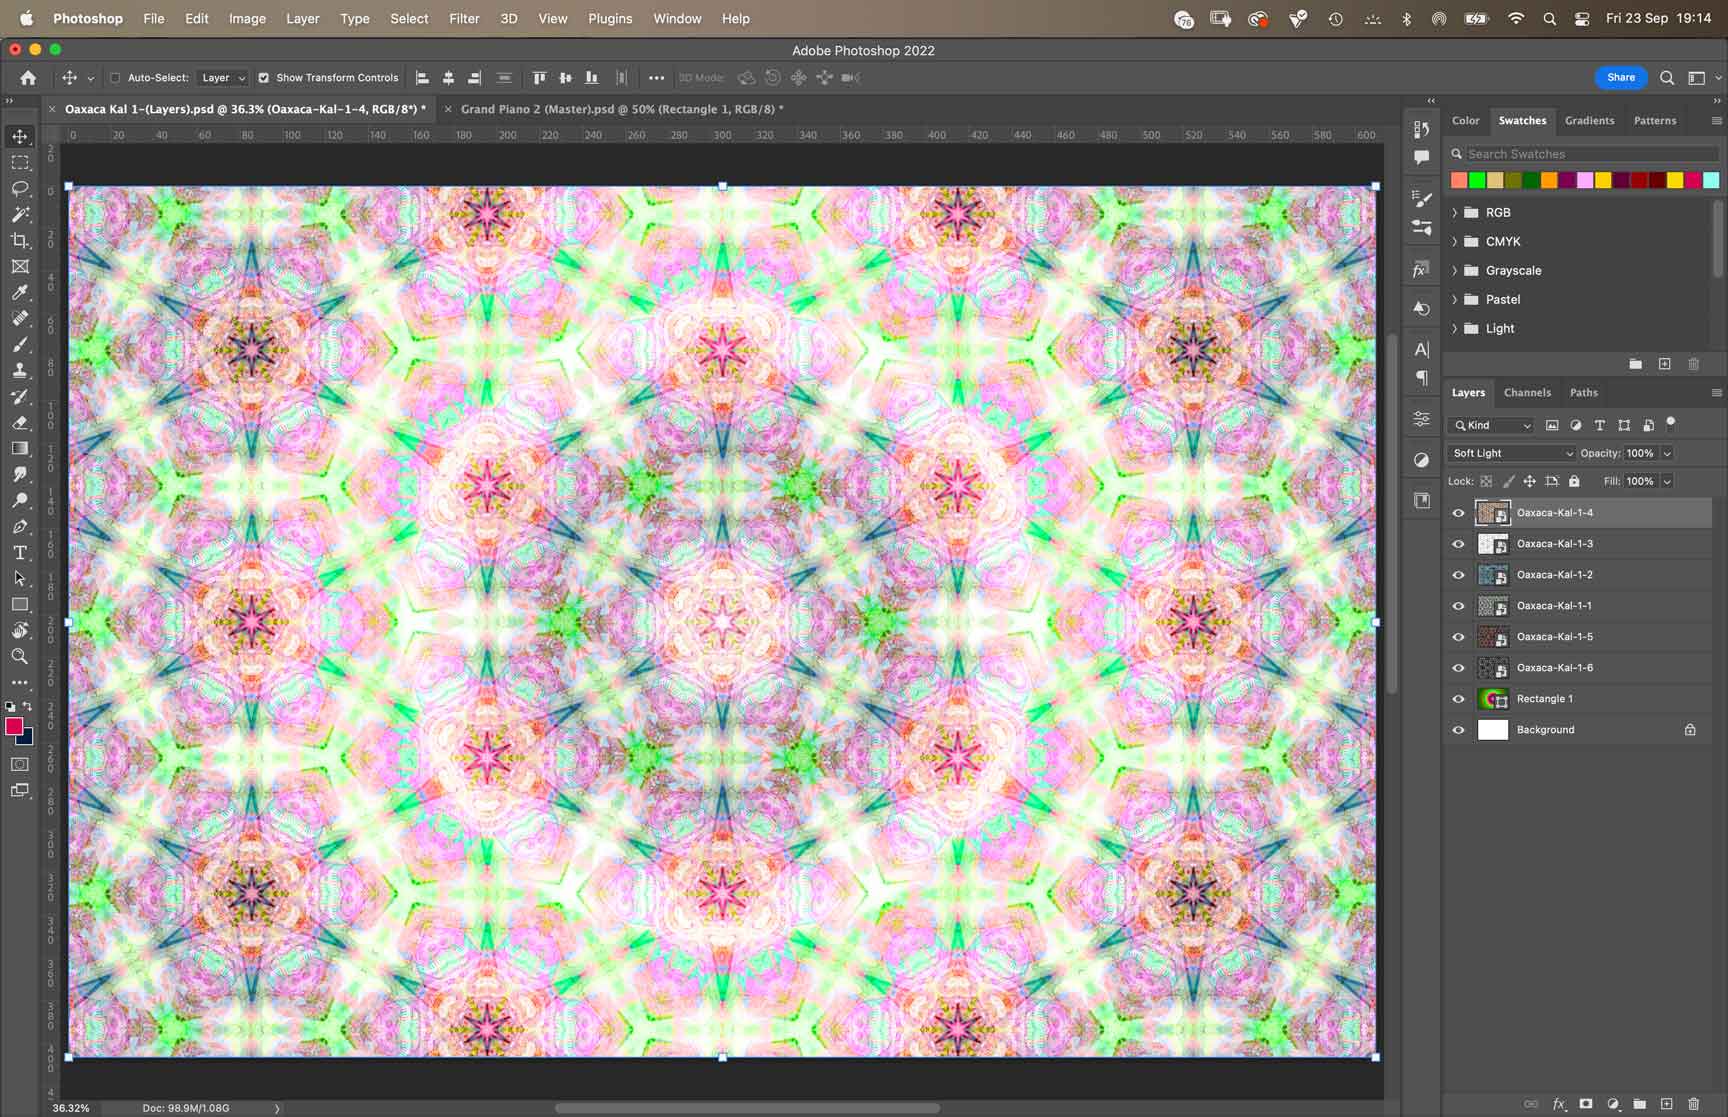
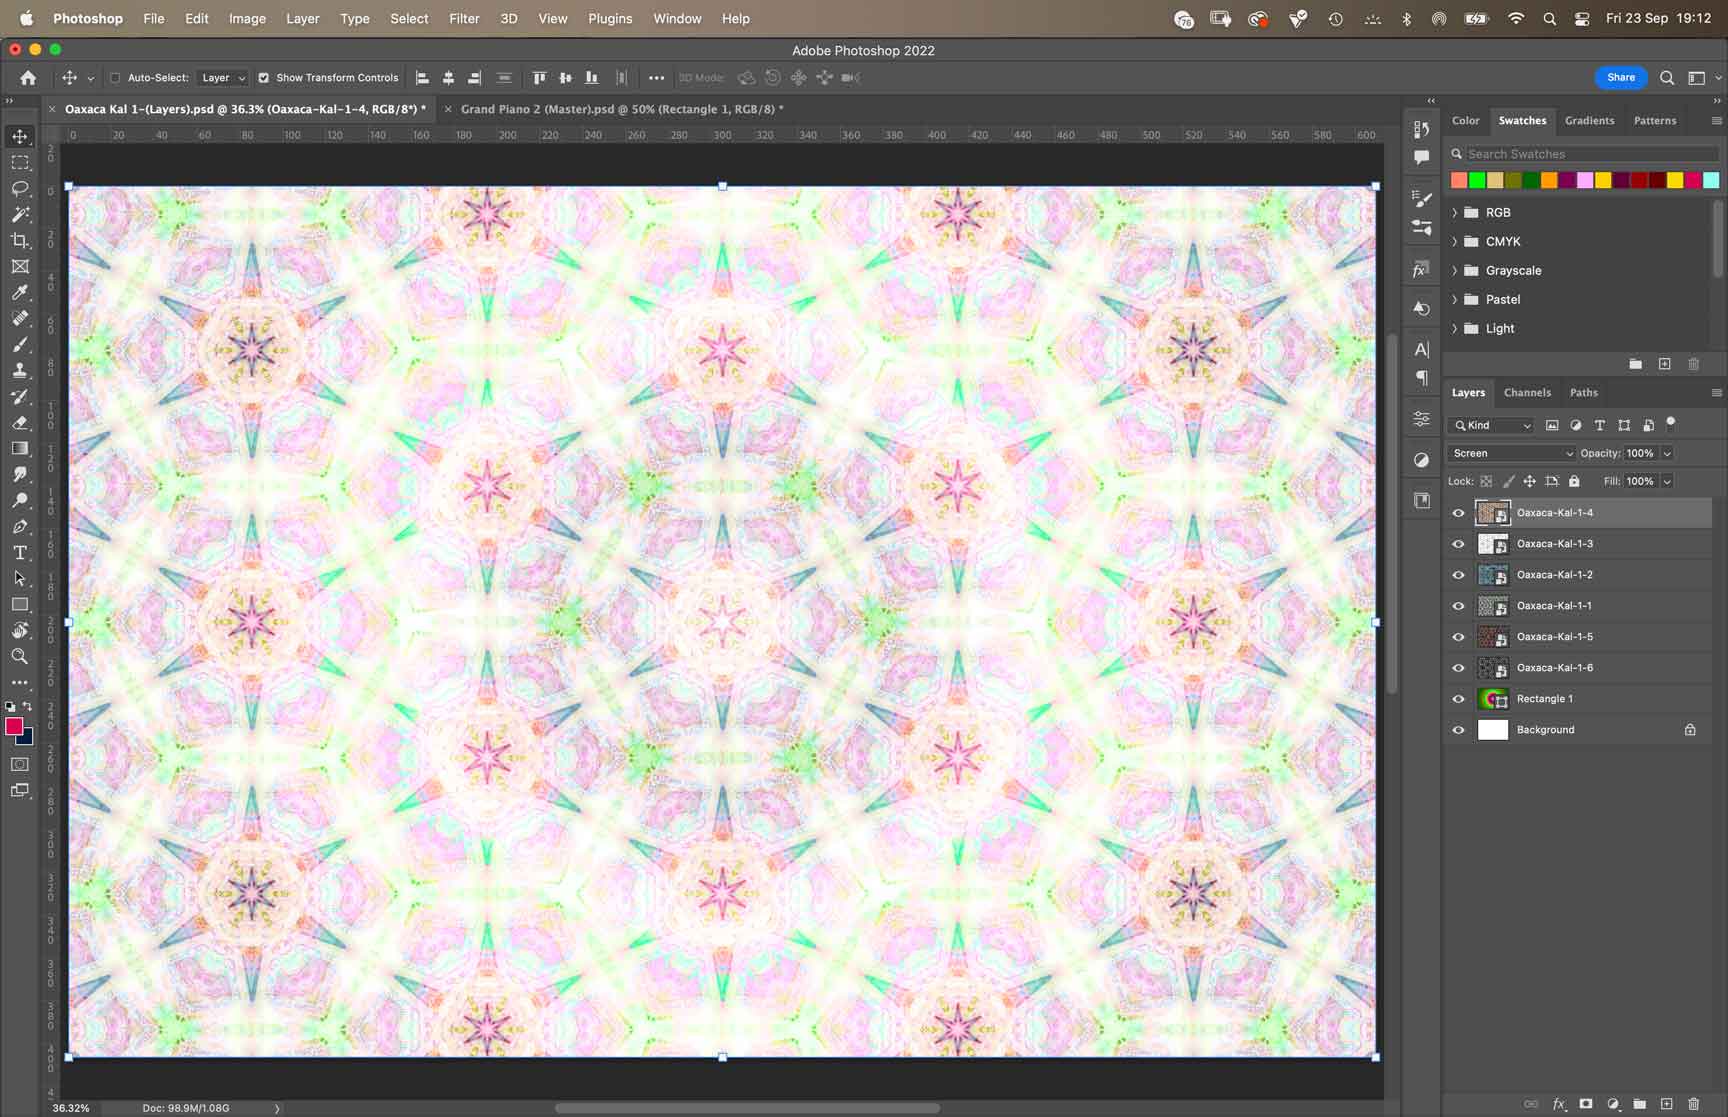
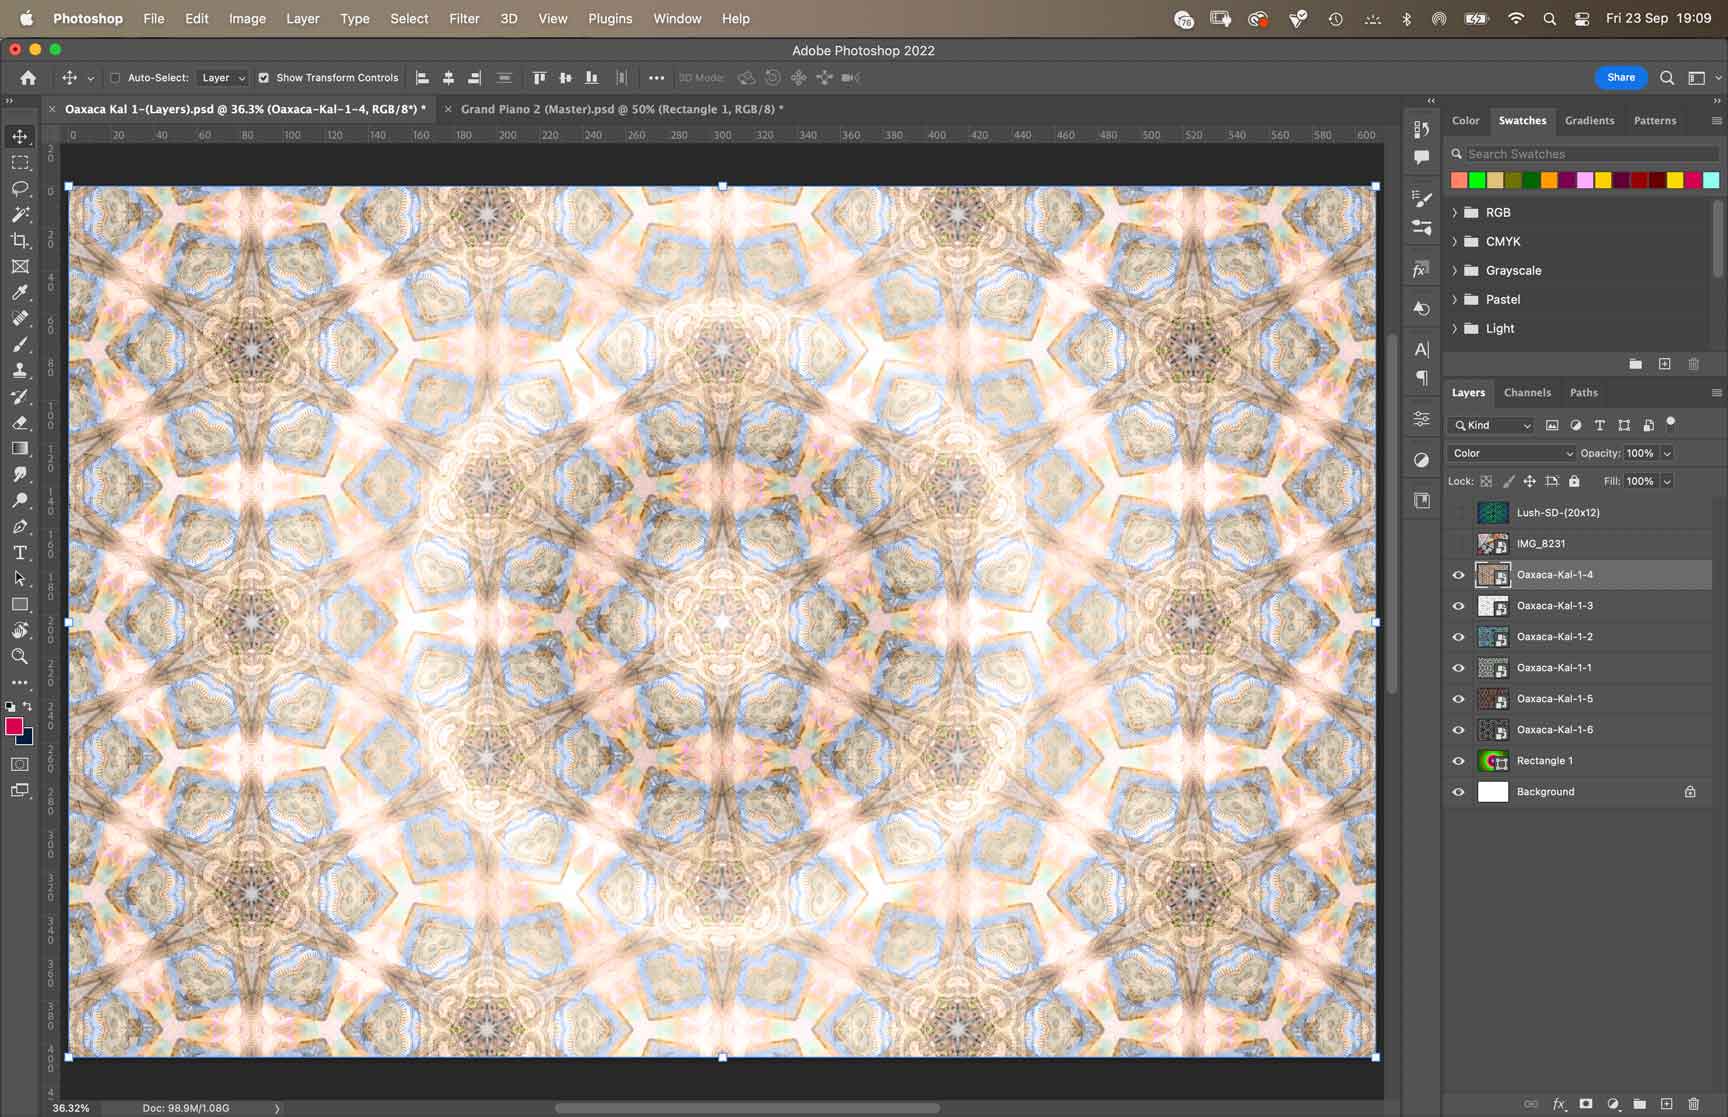
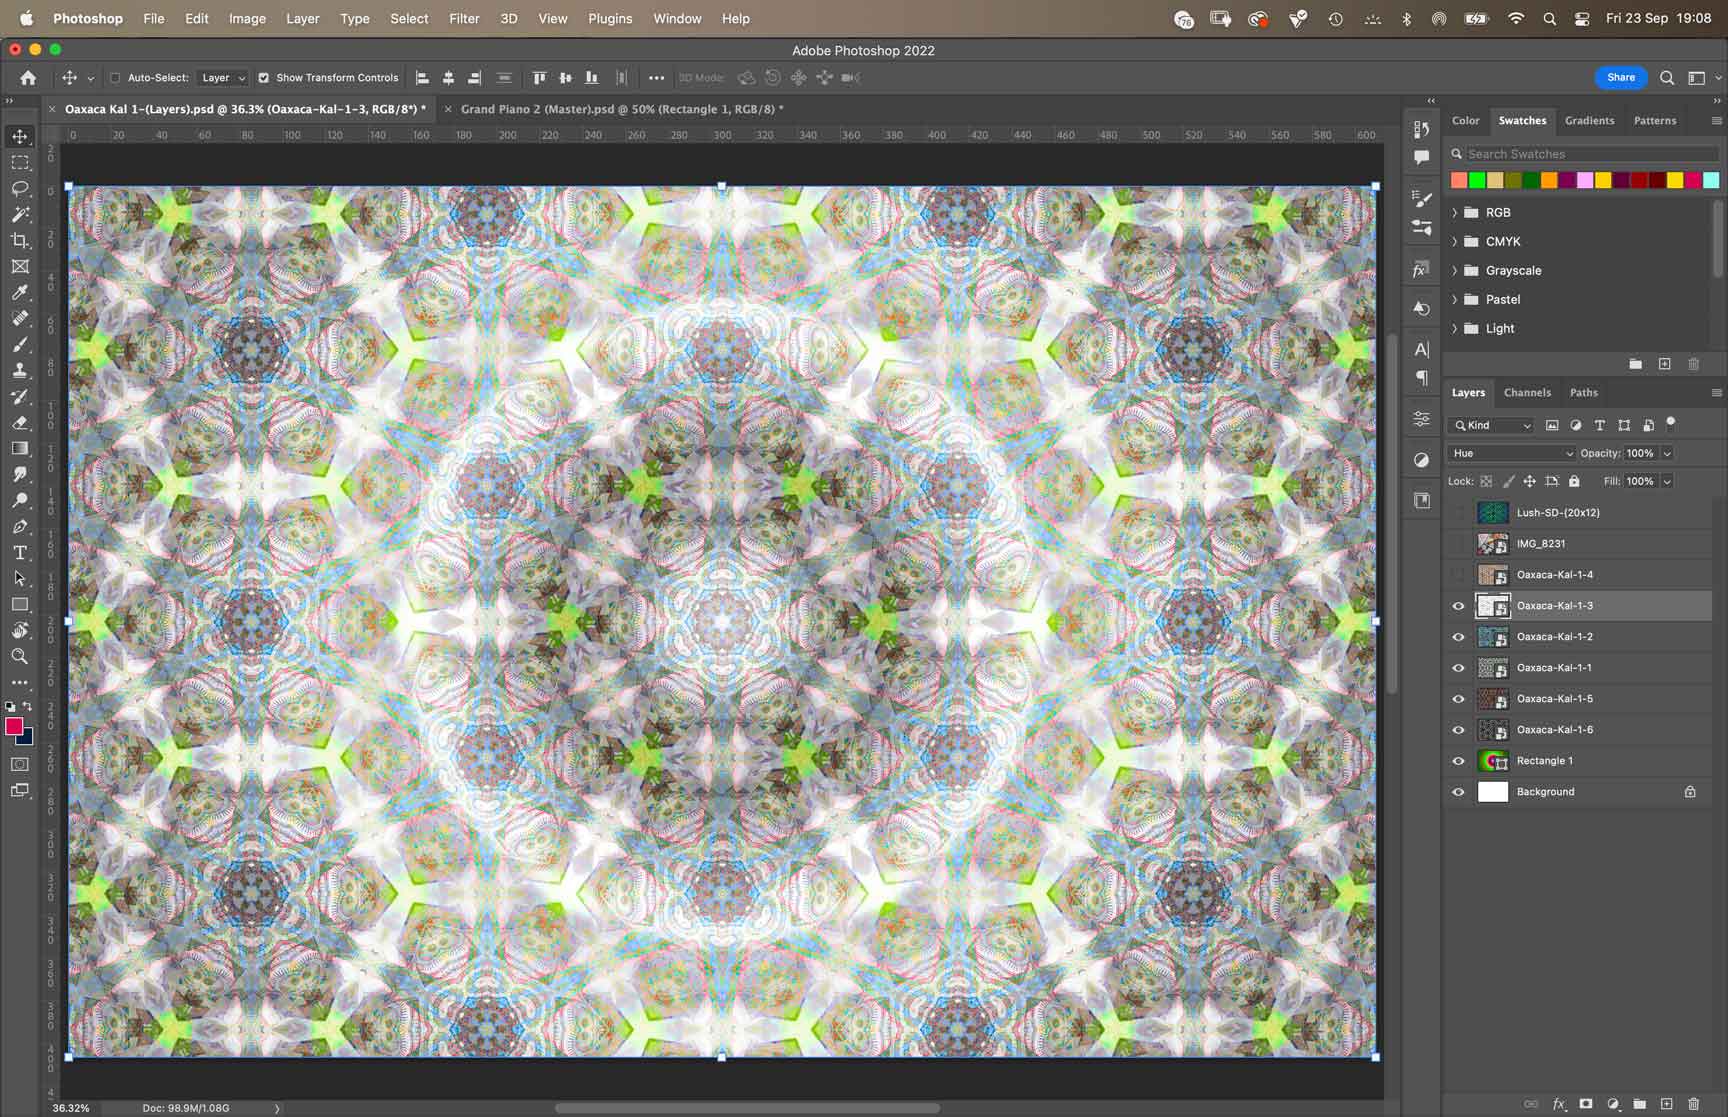
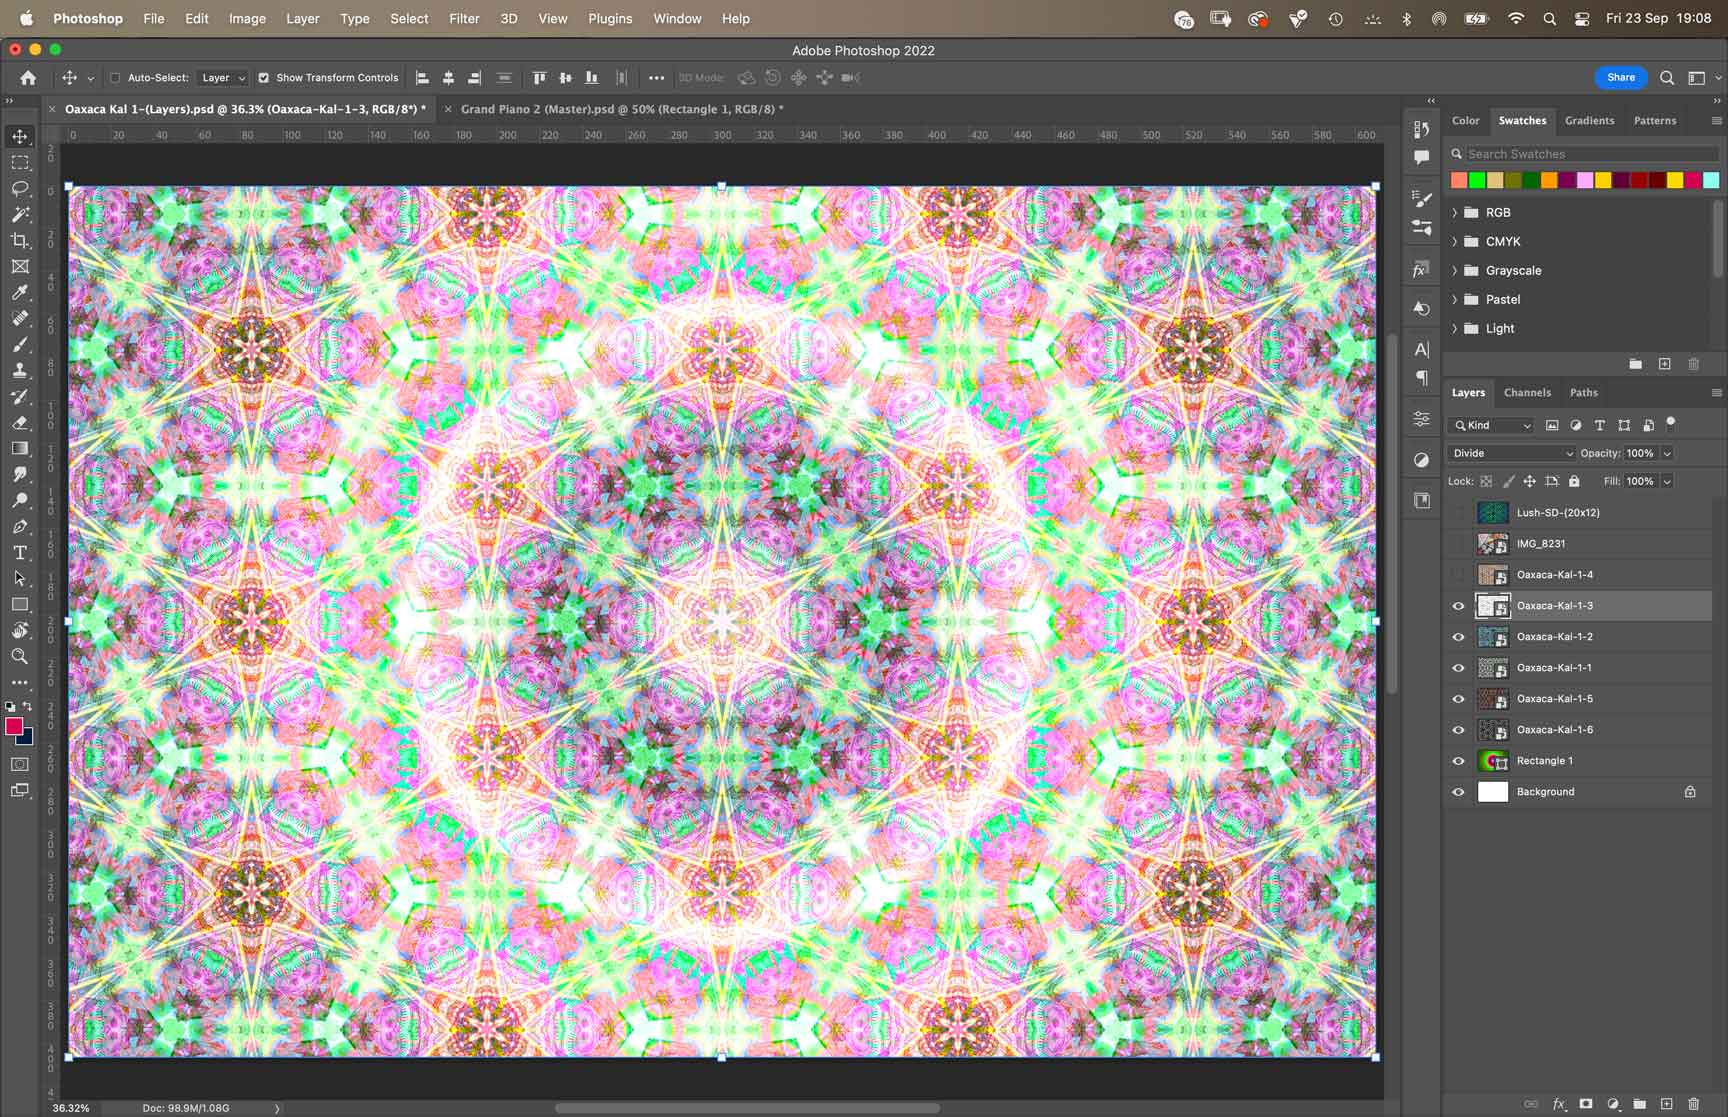
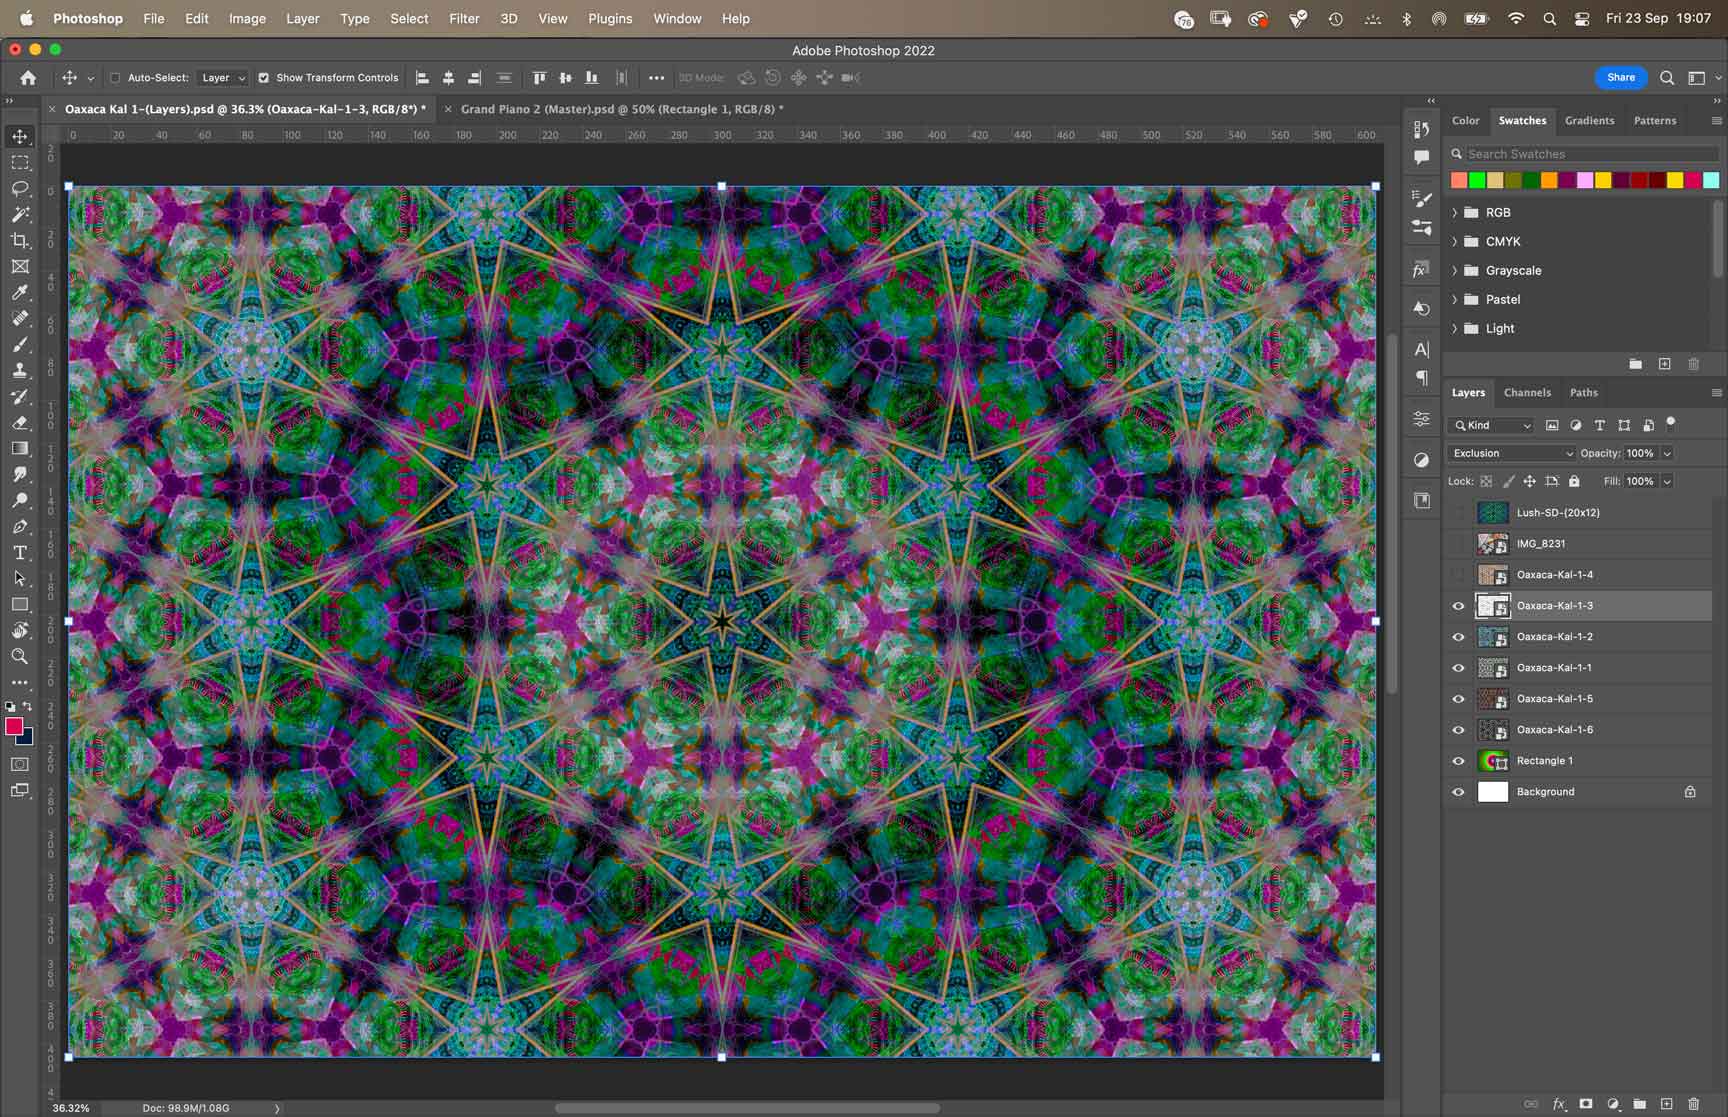
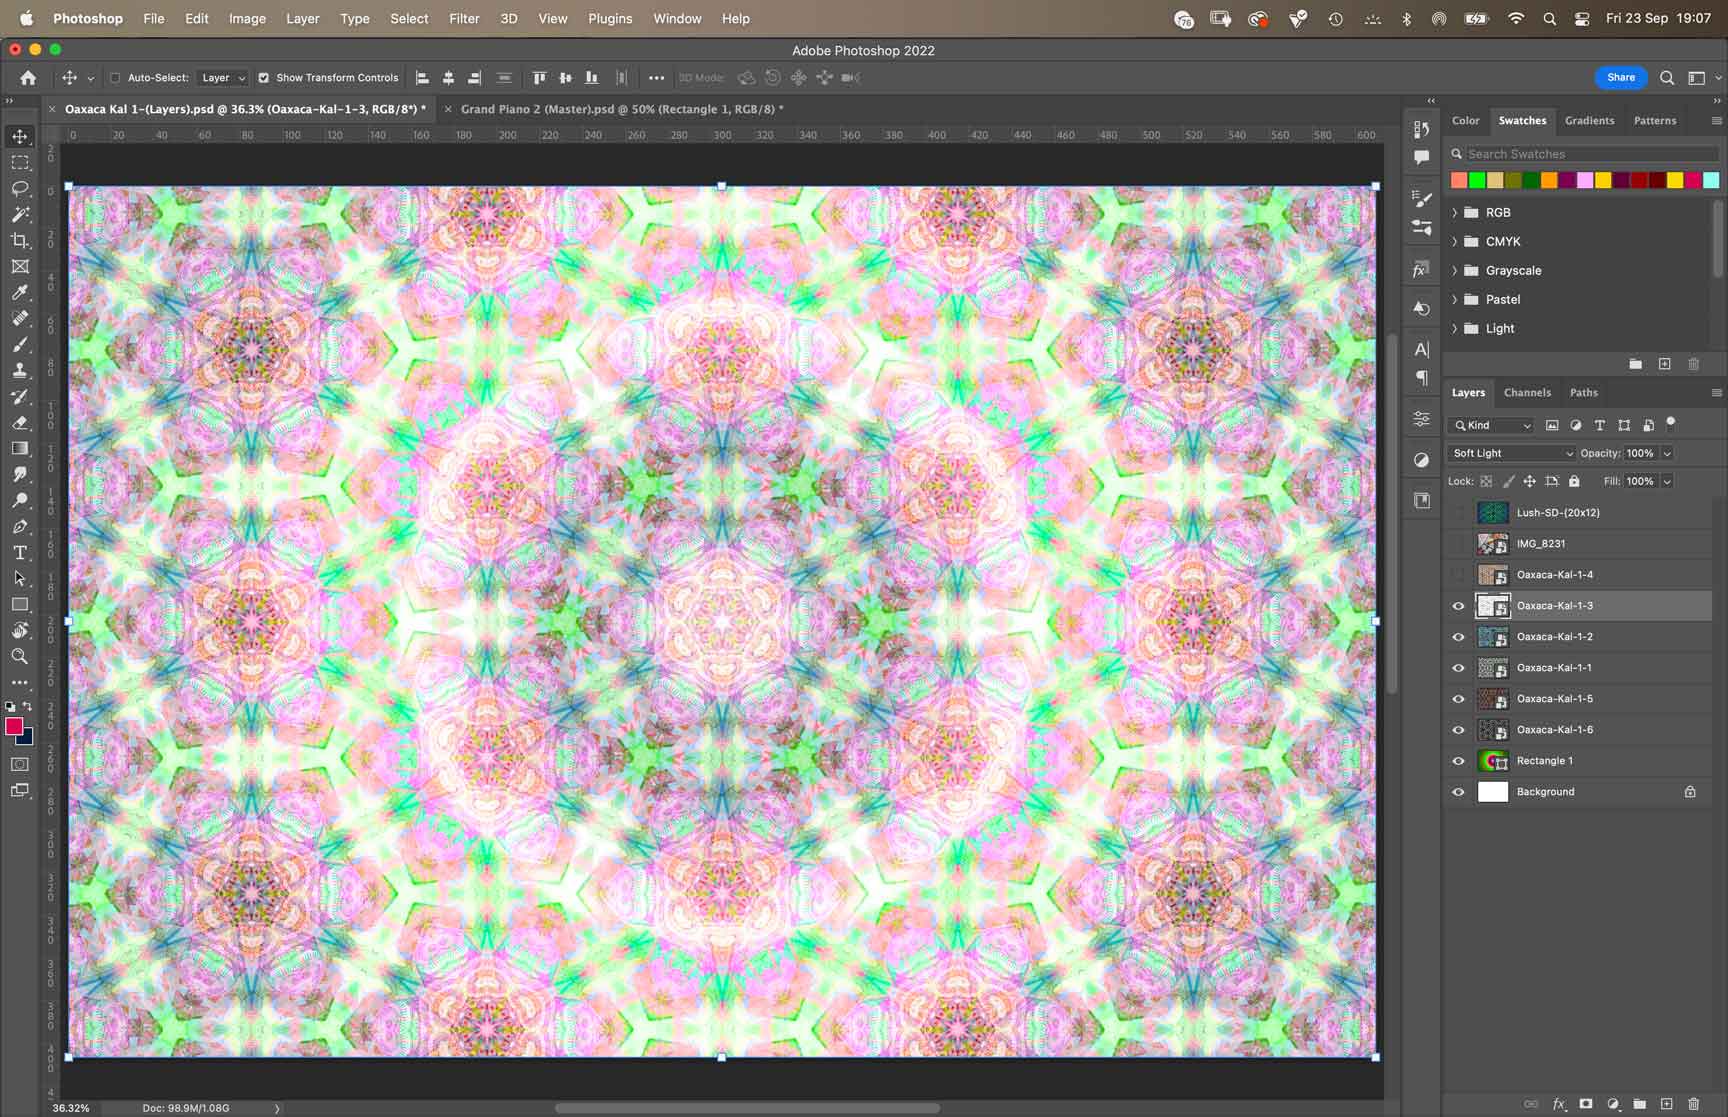
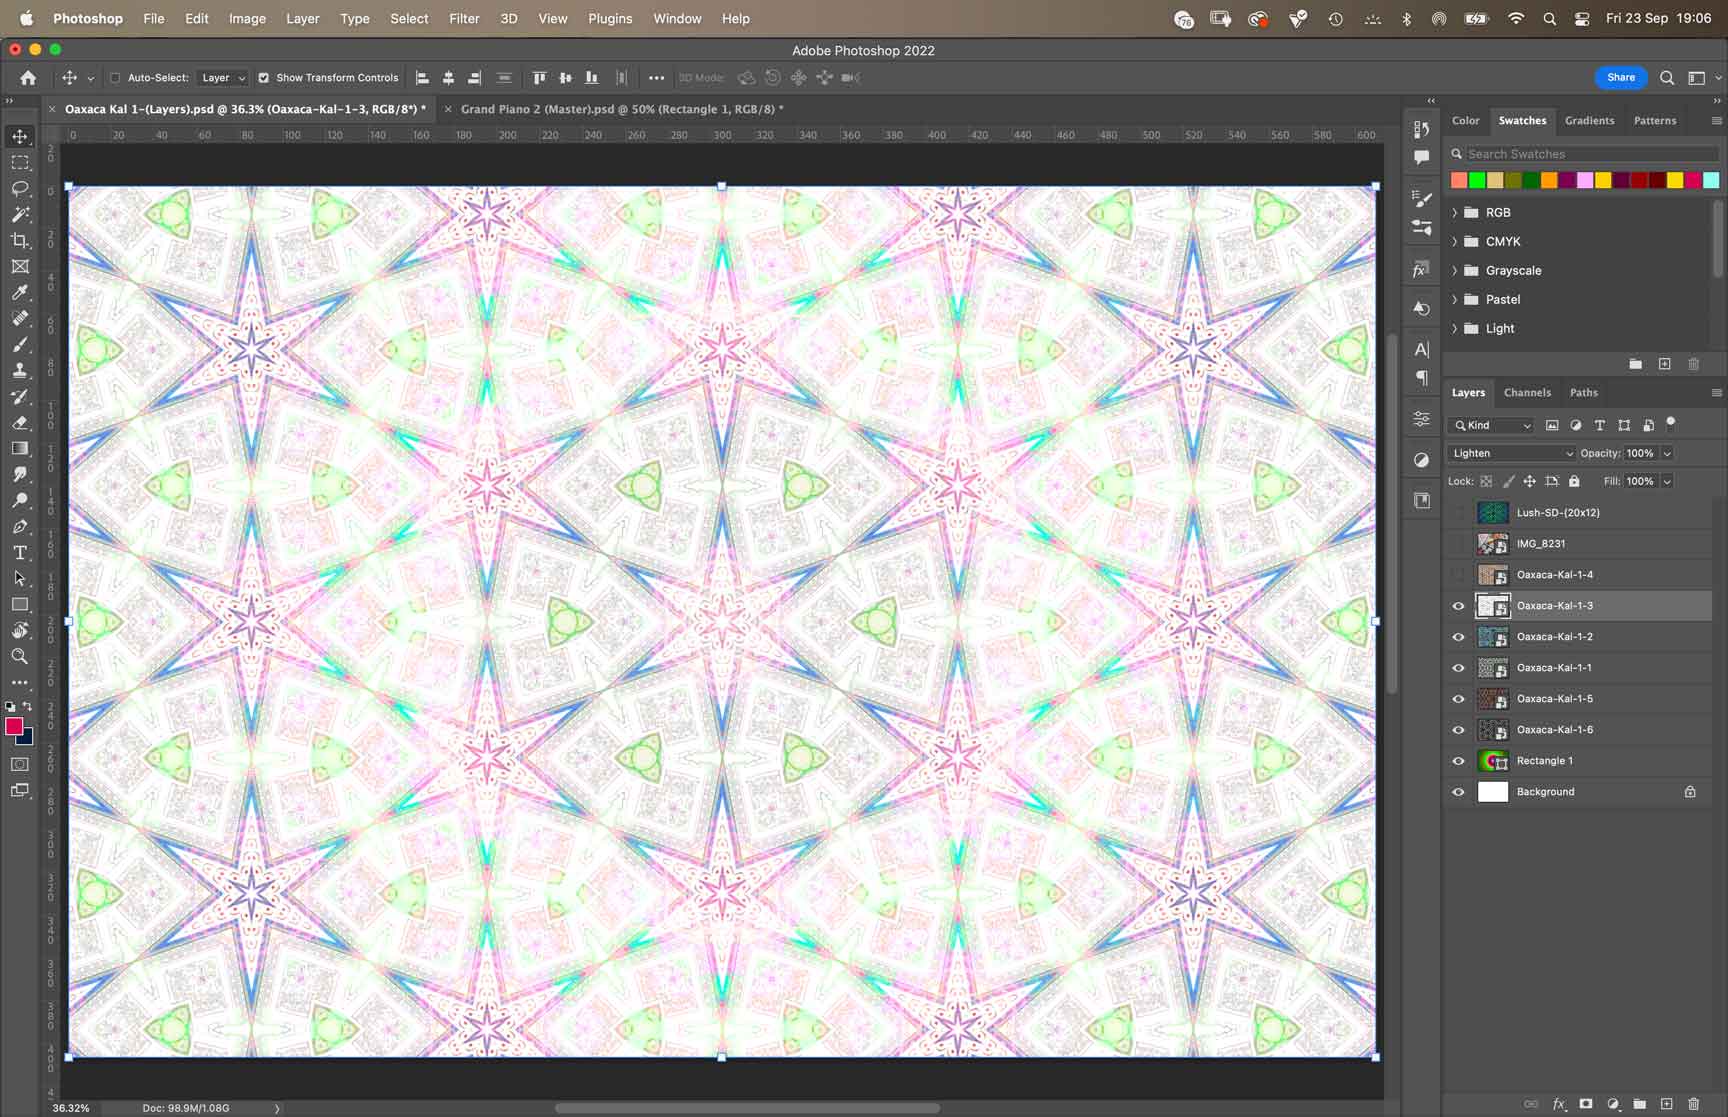
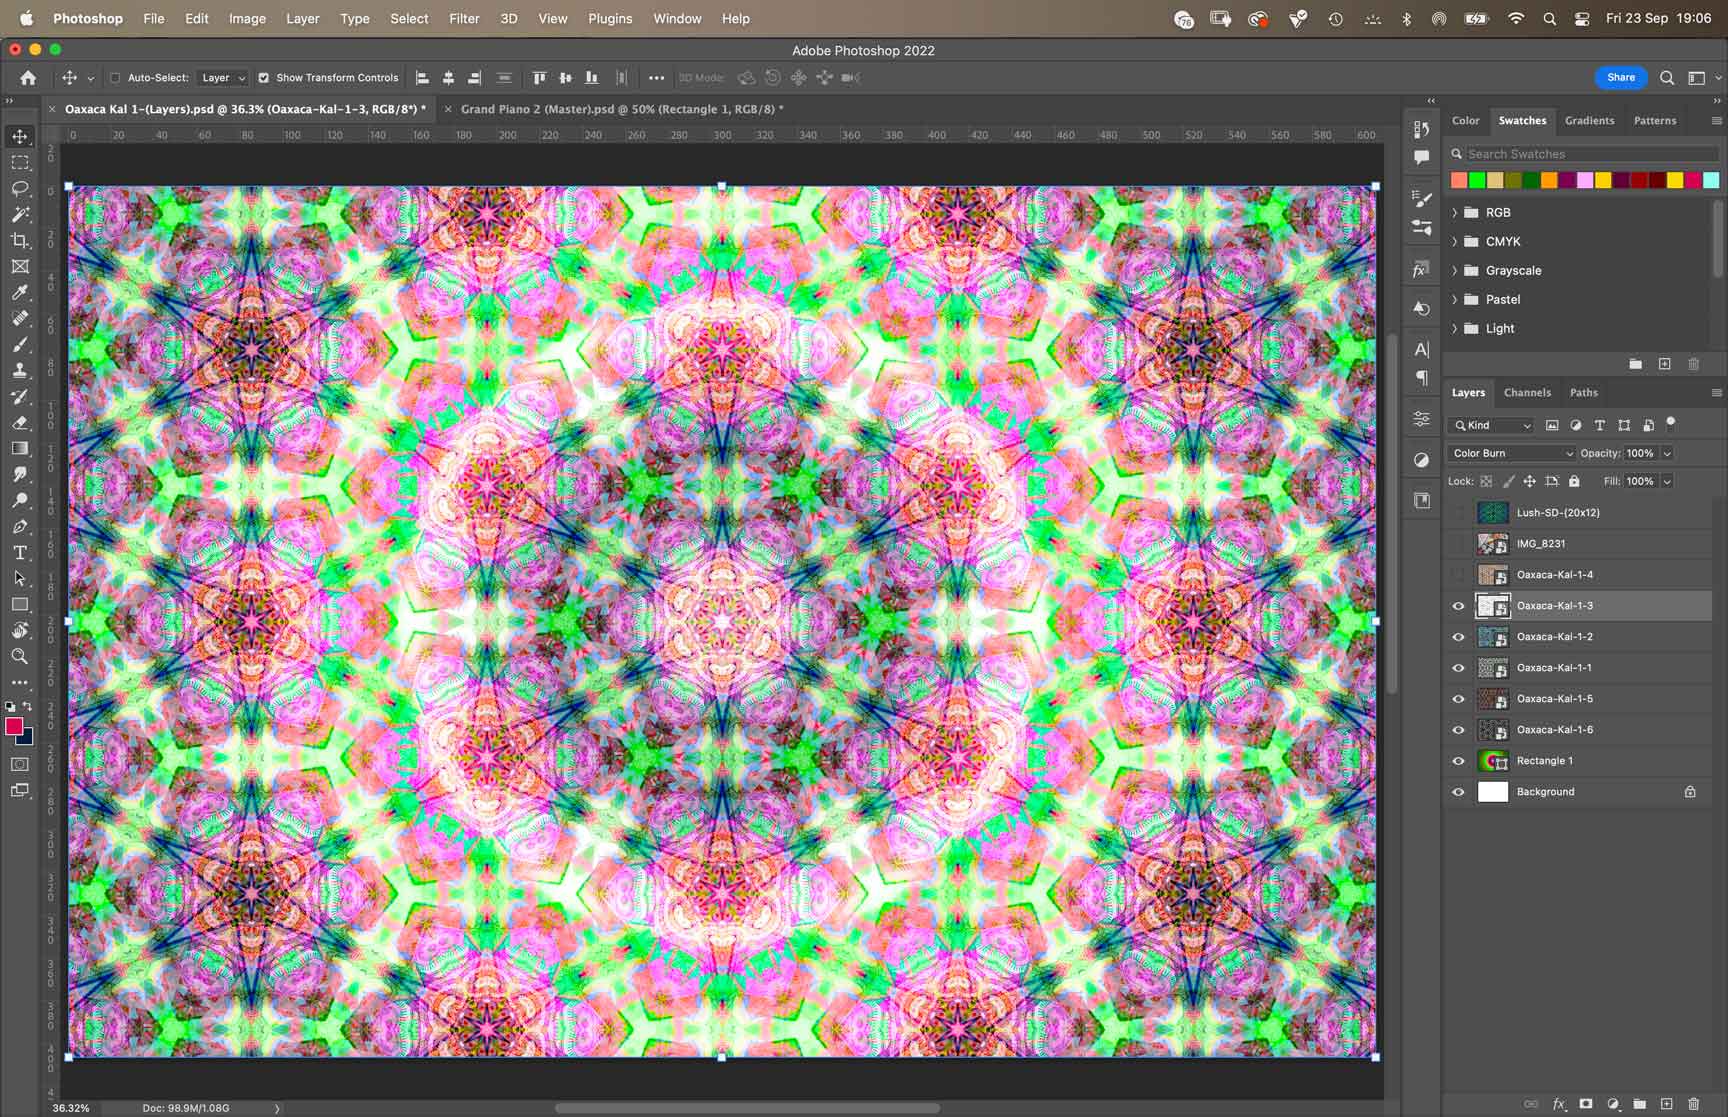
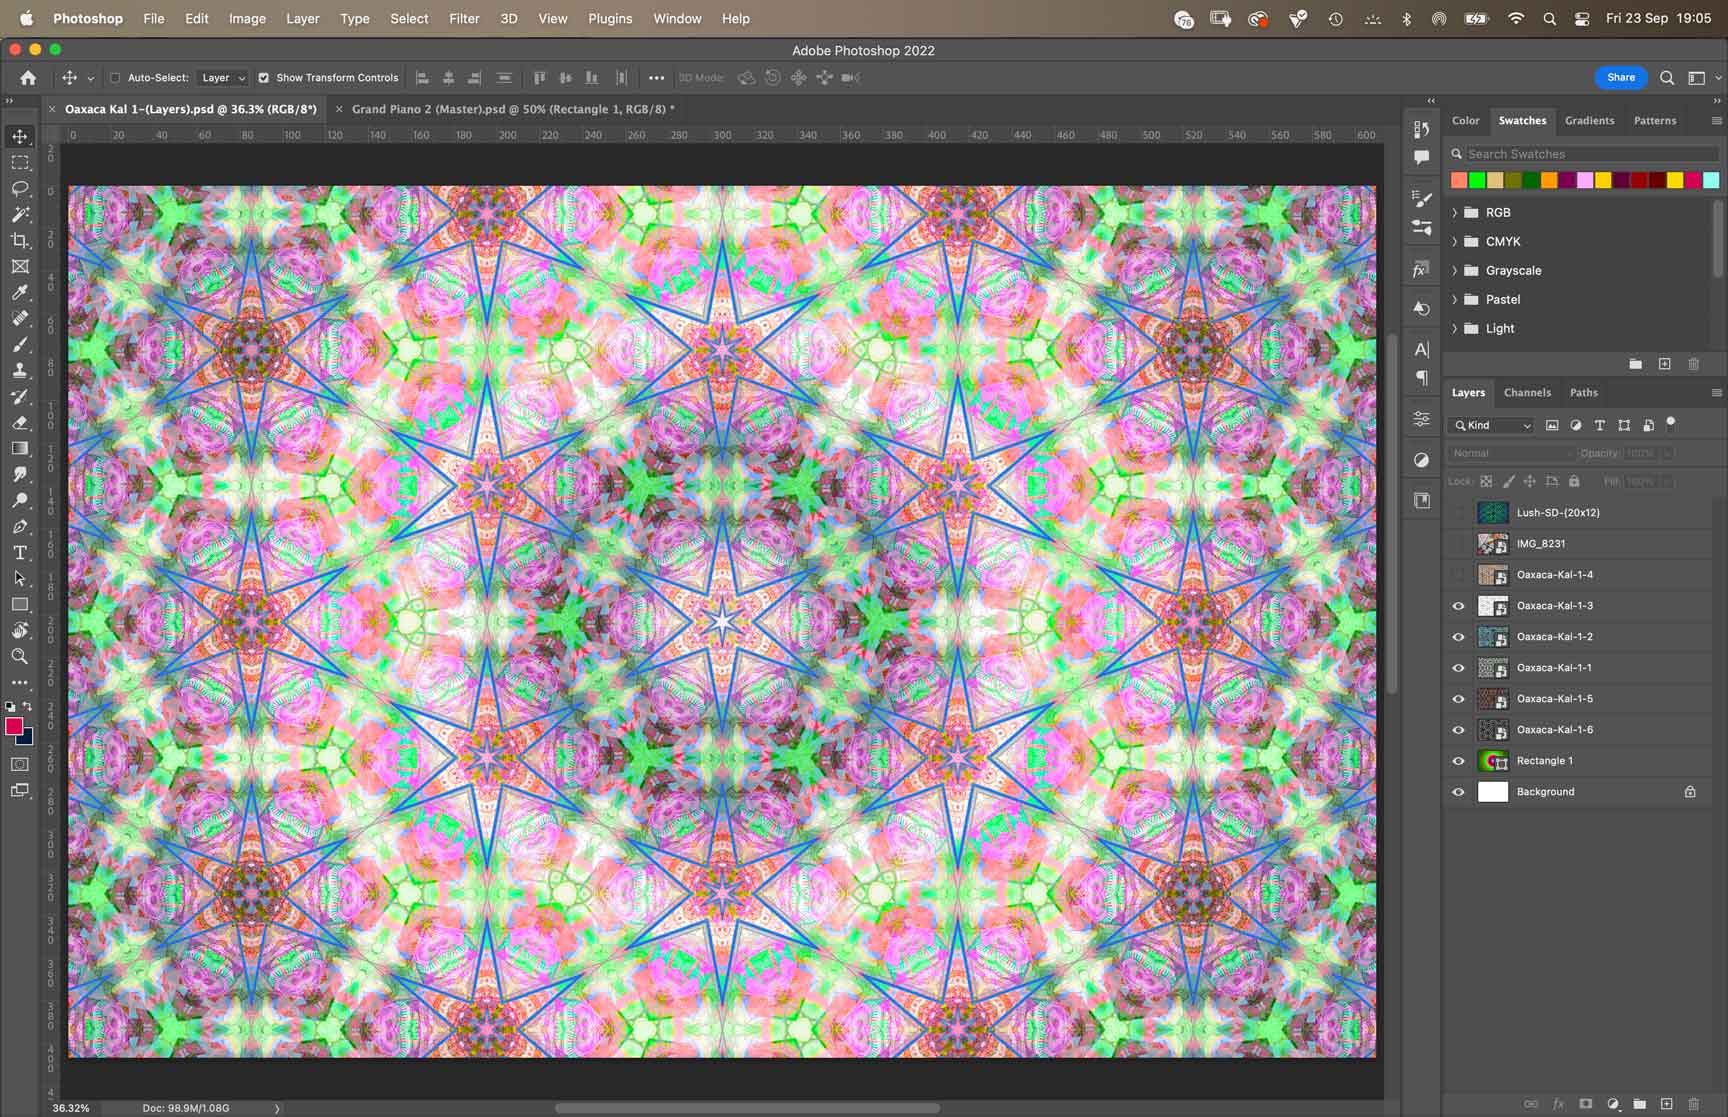

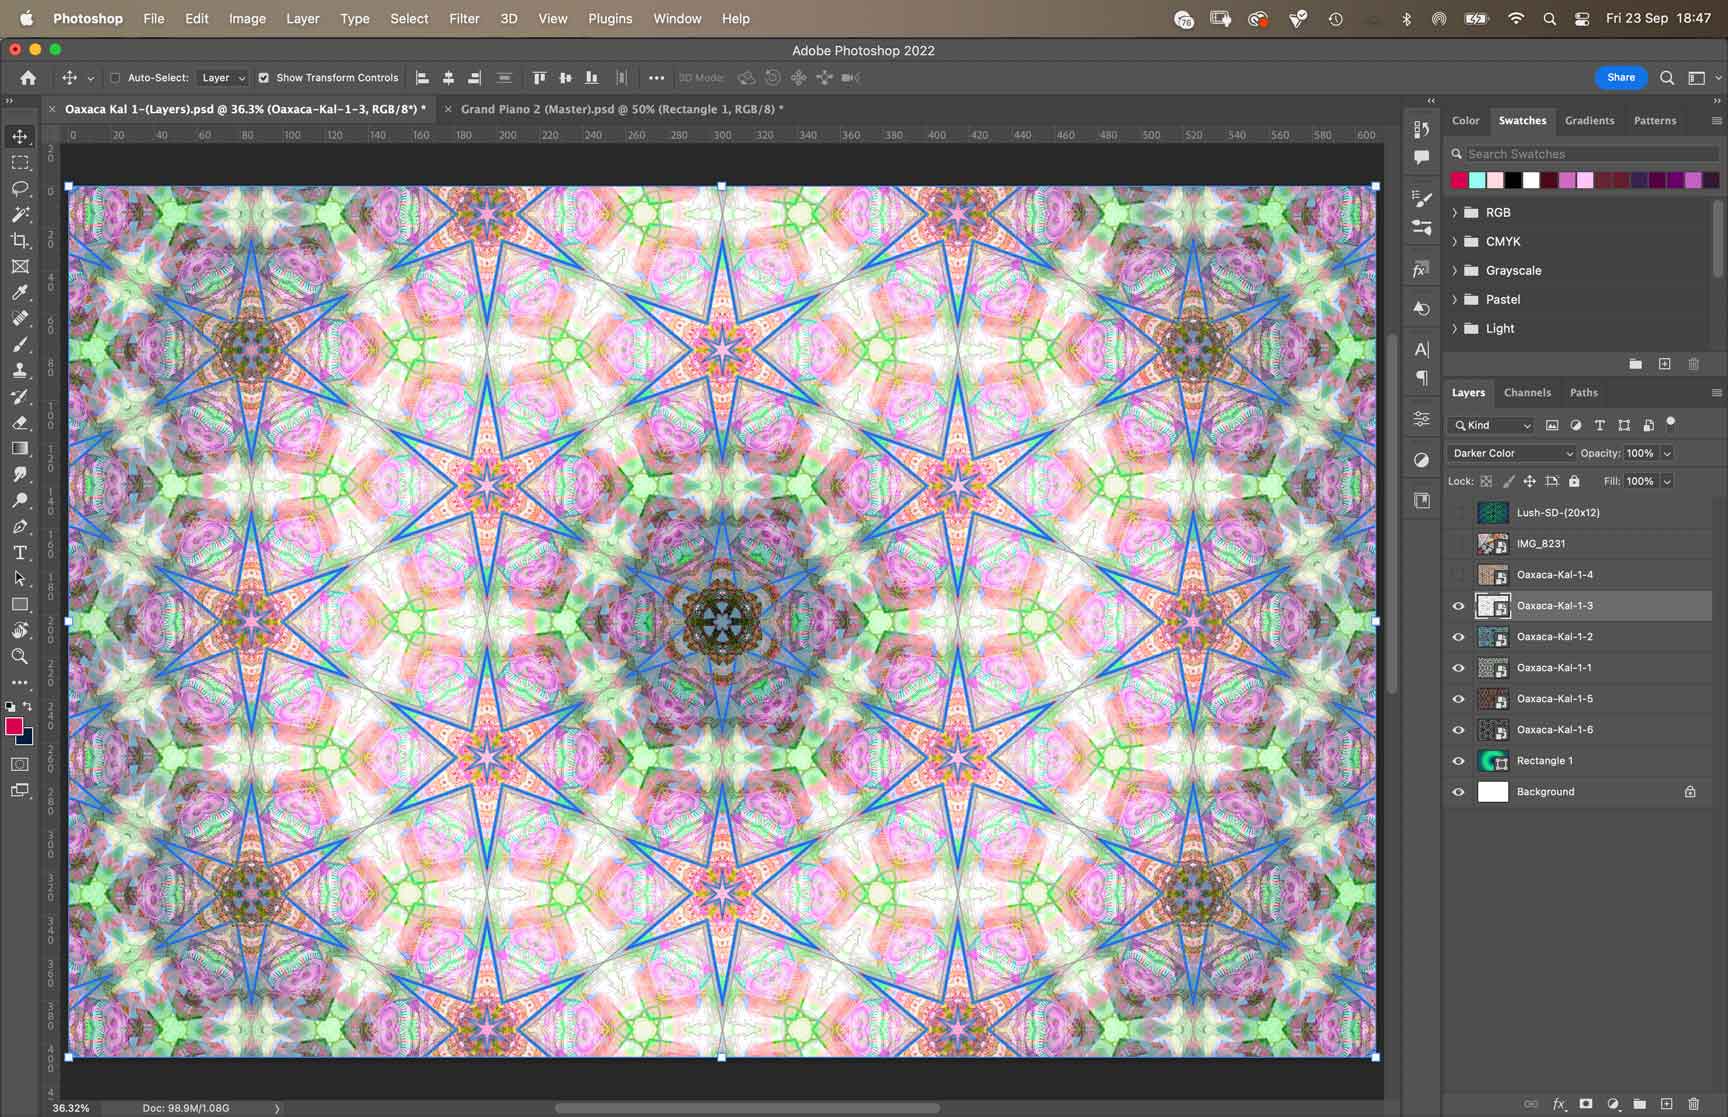
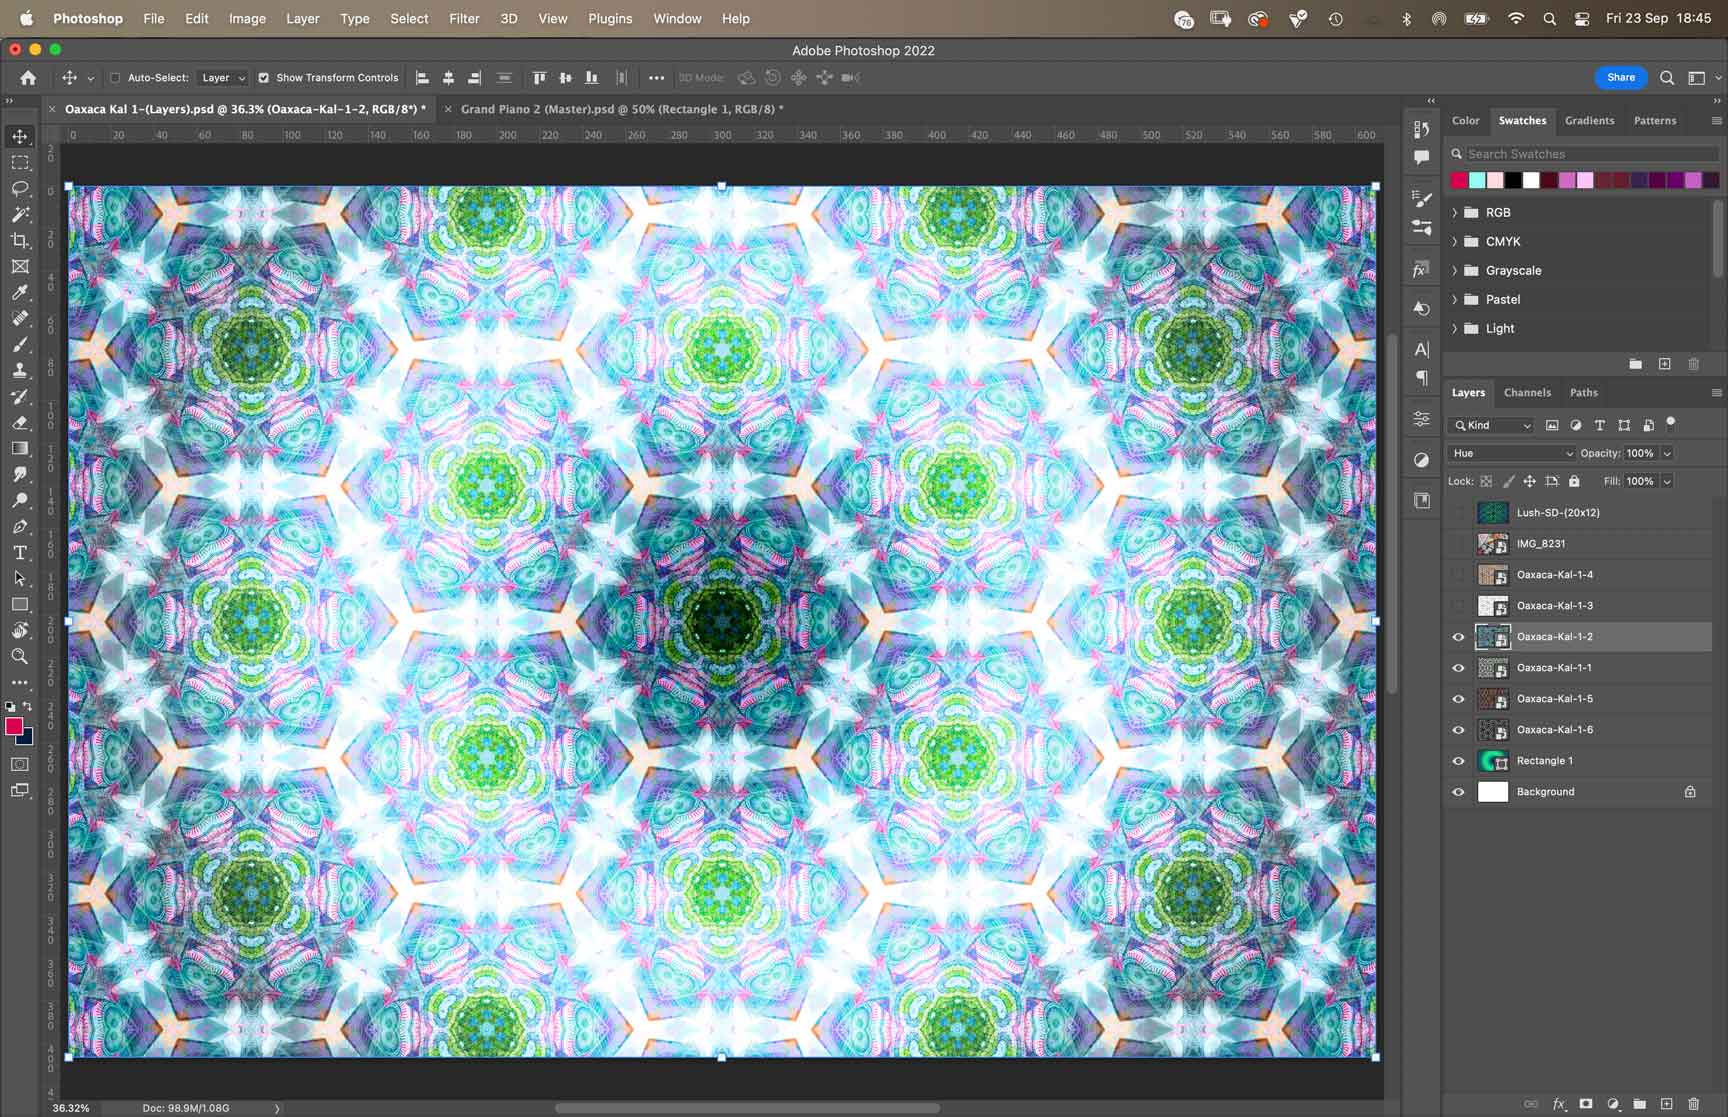
And from these I’ve come up with these six.


So now I need your help. I can’t decide which of these six to choose as the final image so I’d like you to tell me which one you’d choose in the comments below. Thanks, and if you like this then sign up to my newsletter.
Adios amigos, Dave.

